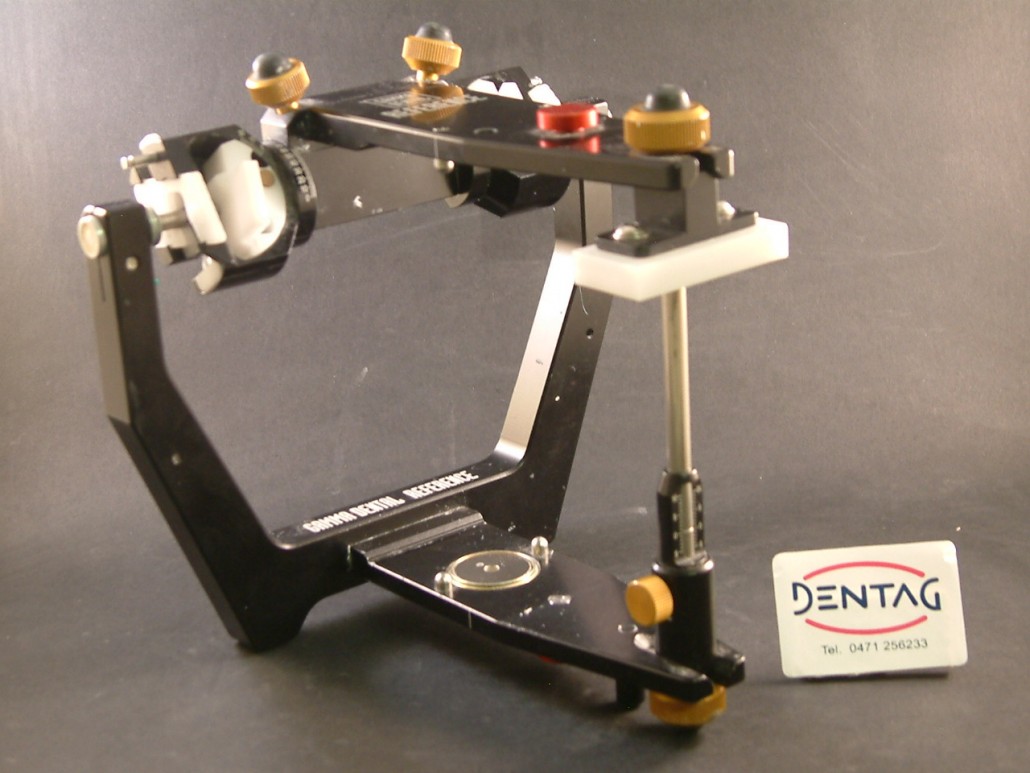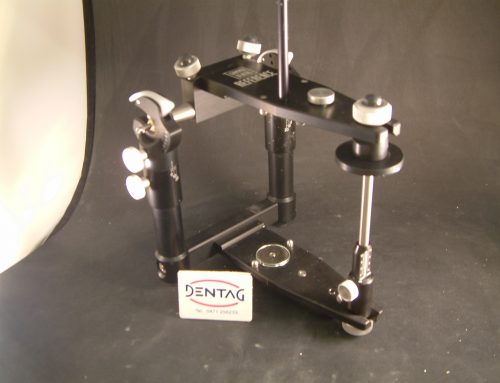
SL Reference articulator – assembly on articulator – part two VIDEO
On the video below you can see the assembly phases of the models on the Reference SL articulator with the following steps:
- 1. Fixing on the magnetic plate of the grey base with the bite fork of the face-bow, fixed before with the help of the assembly bench.
- 2. Positioning of the upper model on the bite fork that has to be stable. During this step the incisal rod has to be positioned on ZERO.
- 3. Choice of the right grey base: the one with less space in relation to the model.
- 4. Plaster consistency has to be like whipped cream, very fluid in order to avoid tensions during fixing. Once fixed the model, you can’t touch anymore, you can’t handle to embellish or to smooth the plaster. (Use always a specific plaster for the assembly on articulator).
- 5. Lower model positioning with wax of Reference Position “RP”. Even in that case the model has to be stable on the wax. During this step, the incisal rod has to compensate for the wax thickness, so you have to raise it twice the wax thickness at the first premolar level(in this case we positioned it at + 7 mm, because the wax thickness was 3,5 mm).
- 6. All that allows getting at the end plastered models on the articulator in contact with each other, with the incisal rod positioned again on ZERO, thecorrect work position (articulator frames have to be parallel).


