

Sequential wax up
Sequential wax up according to Professor Rudolf Slavicek’s technique is a prosthetic product planning that considers all the functional guides and the dental contacts, and even the possible prosthesis abrasion over time. Actually we do the wax up in pure canine guide (according to the Vienna school of Professor Slavicek), but if this lost efficiency through the wear of time, it would come into operation the functional guide of the first premolar and so on until we arrive to affect the whole quadrant reaching a group function, but always respecting the prosthetic work function.
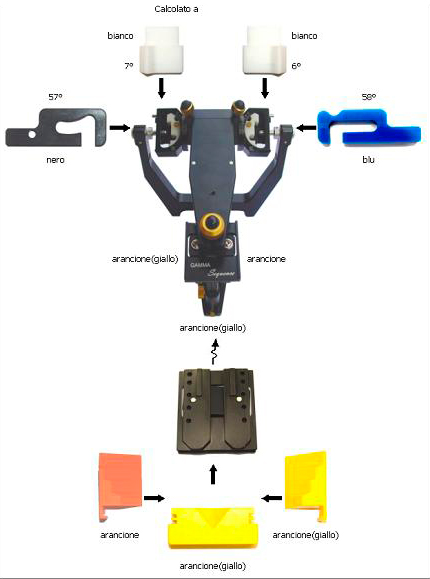
Before we start the sequential wax up we need to set individual values for the articulator through an axiographic test. We need to establish the correct vertical size with values achieved through the cephalometric tracing, a correct occlusal plane and a correct operating articular position, using RP waxes. At this point we assemble the model on articulator with the help of a preferably kinematic face-bow.
How to realise the models
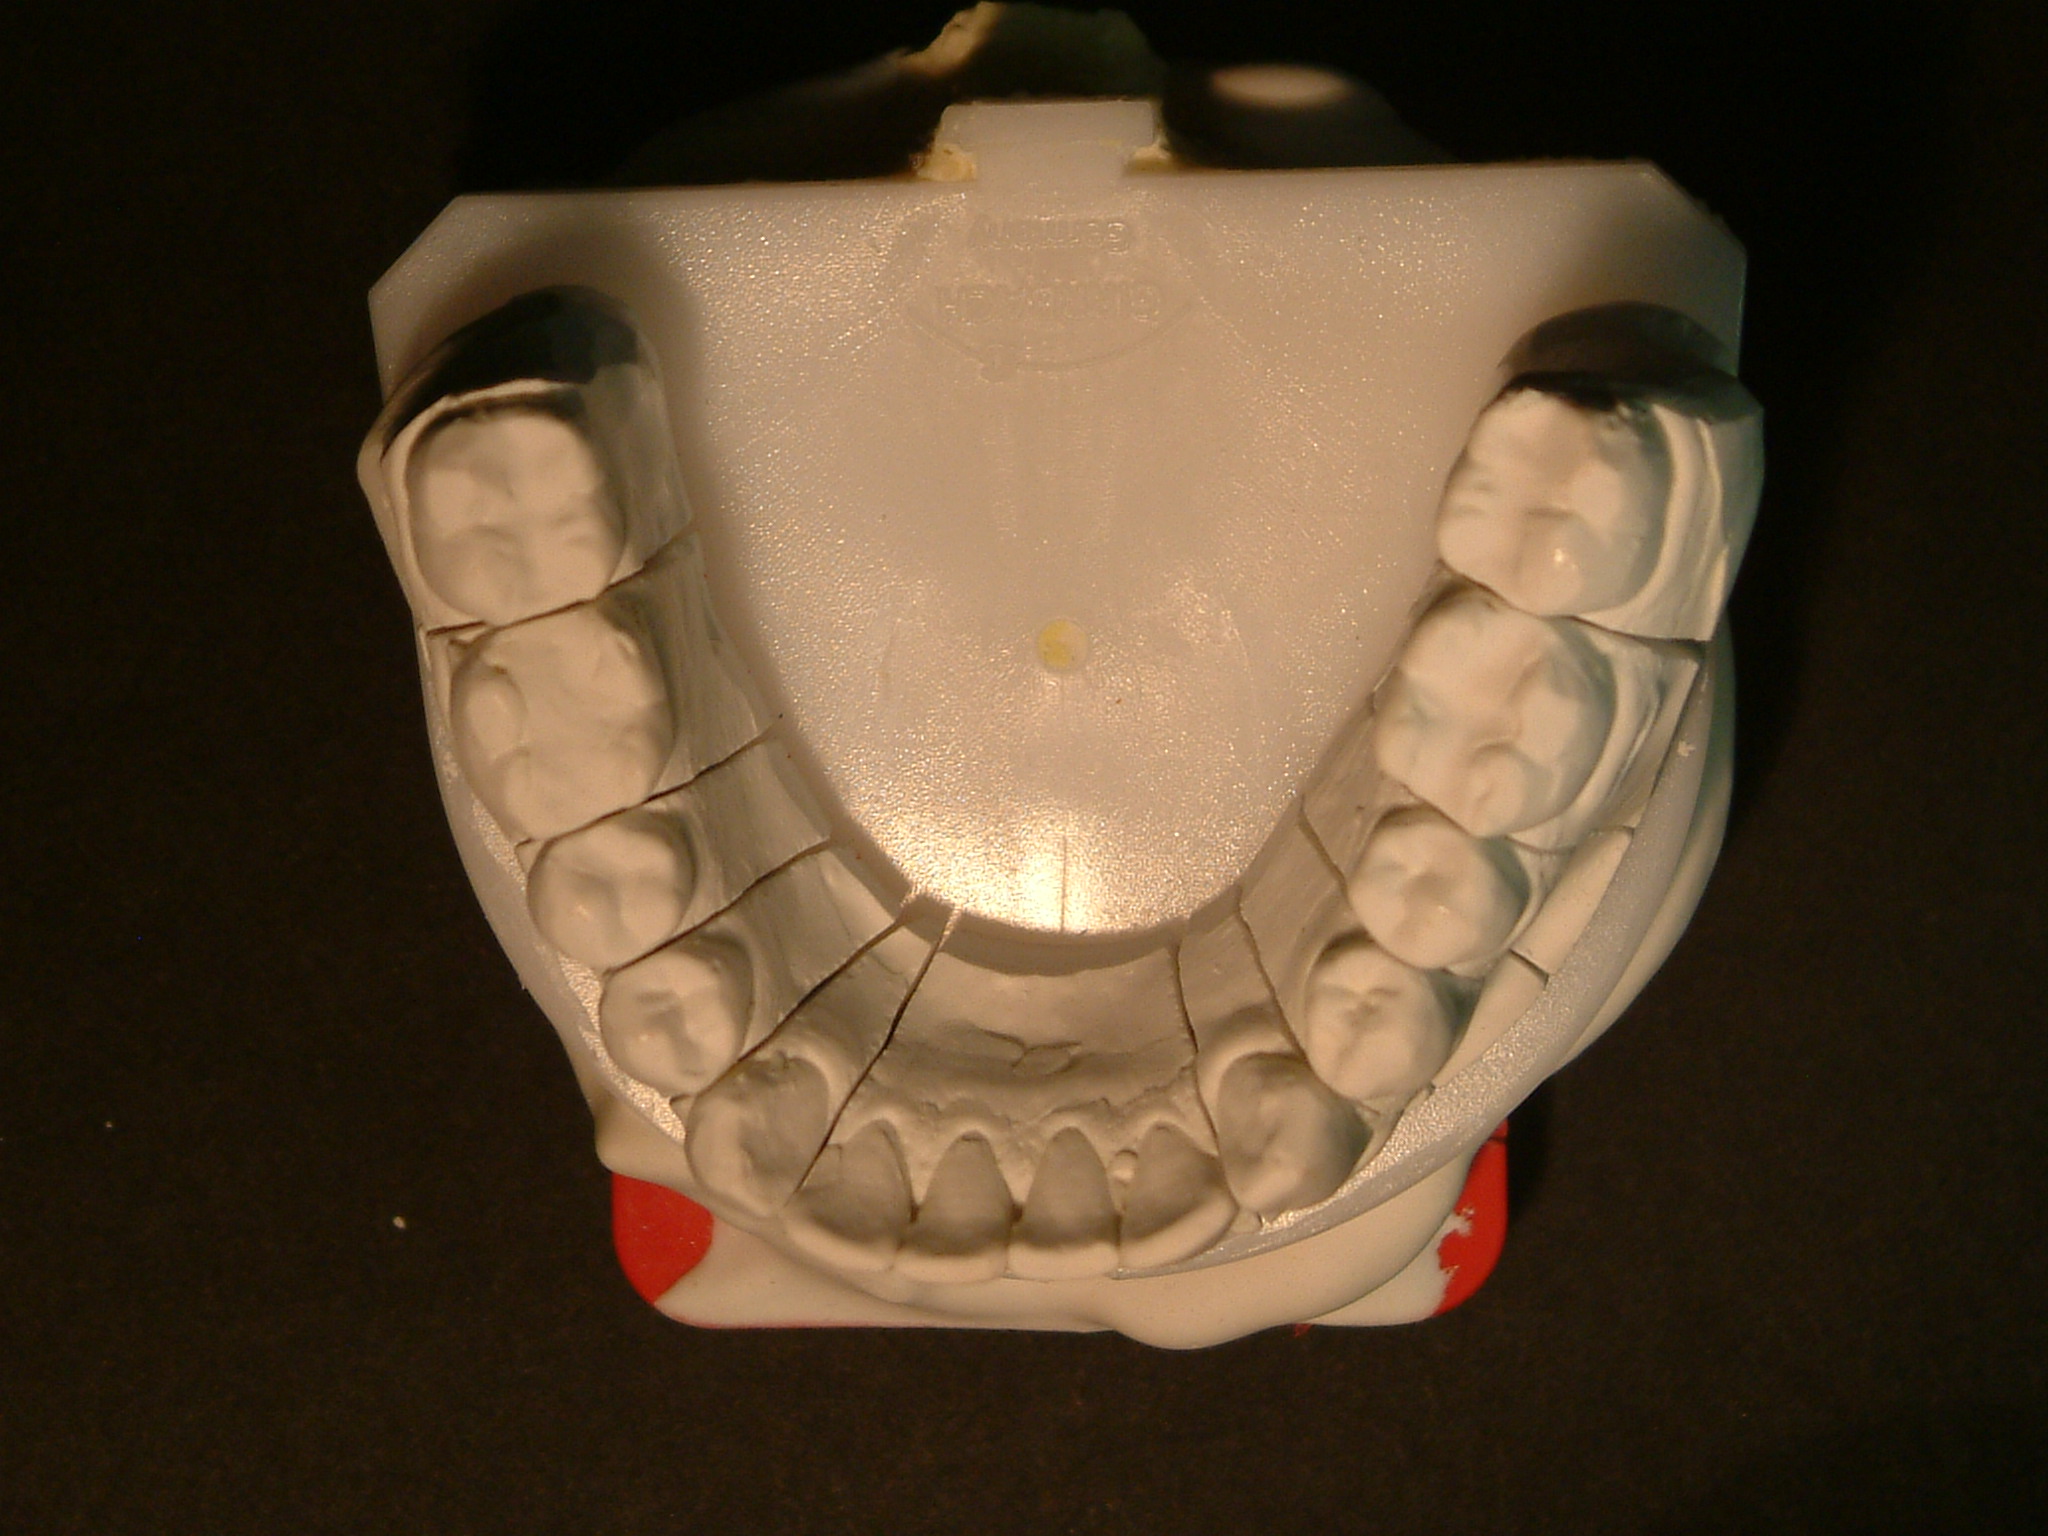
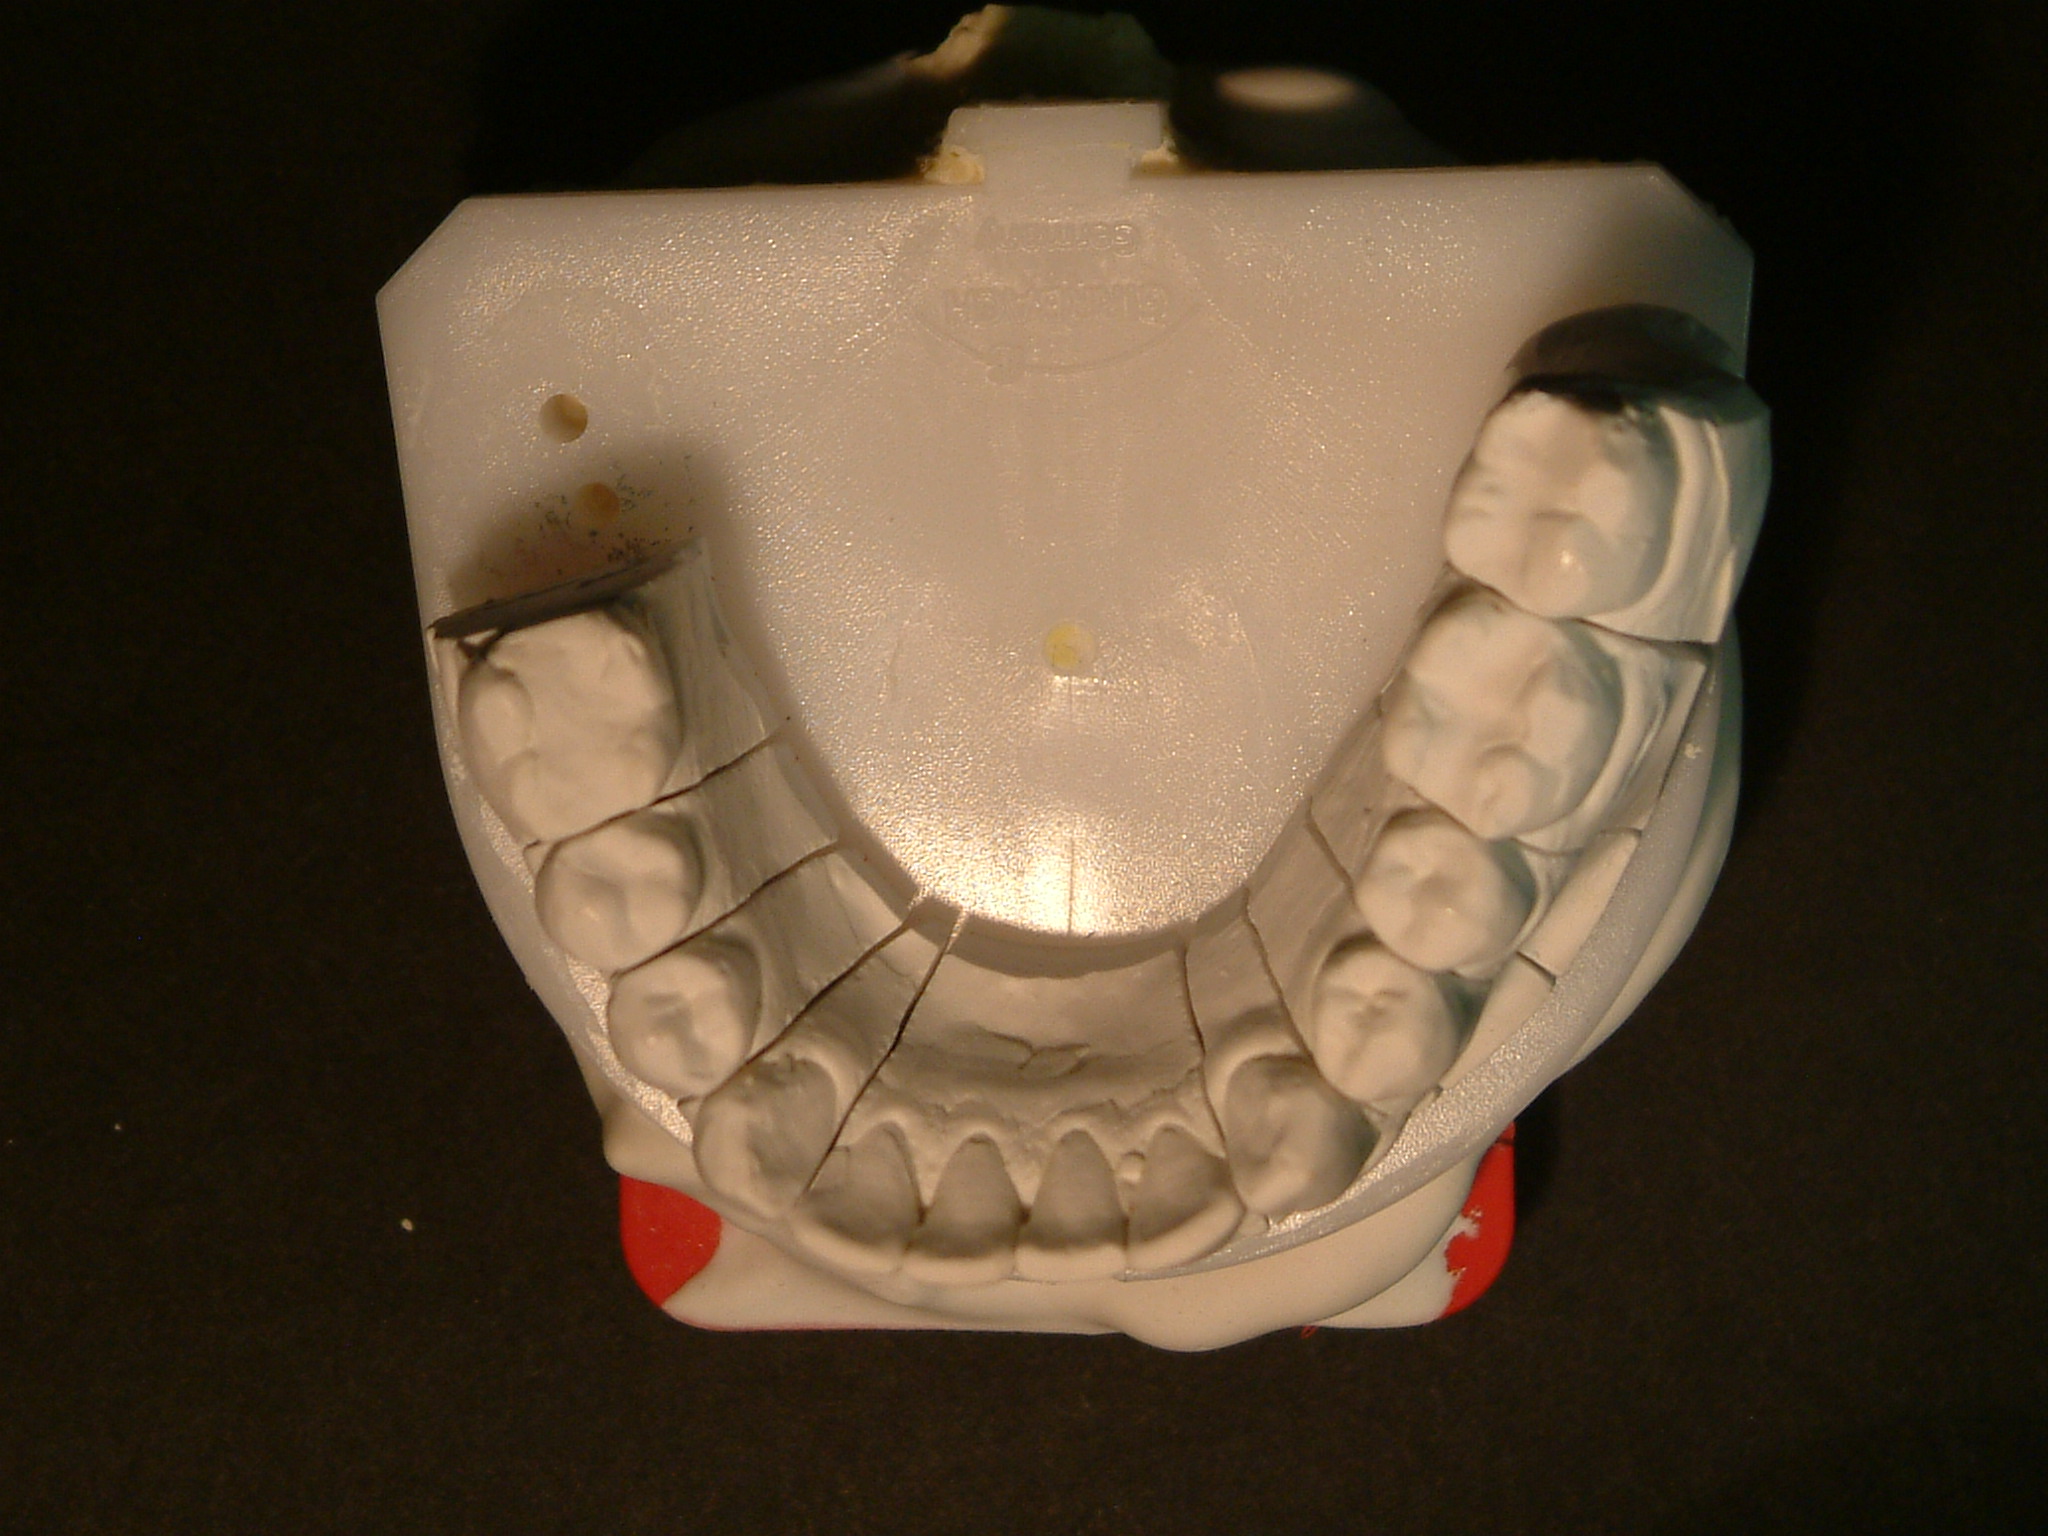
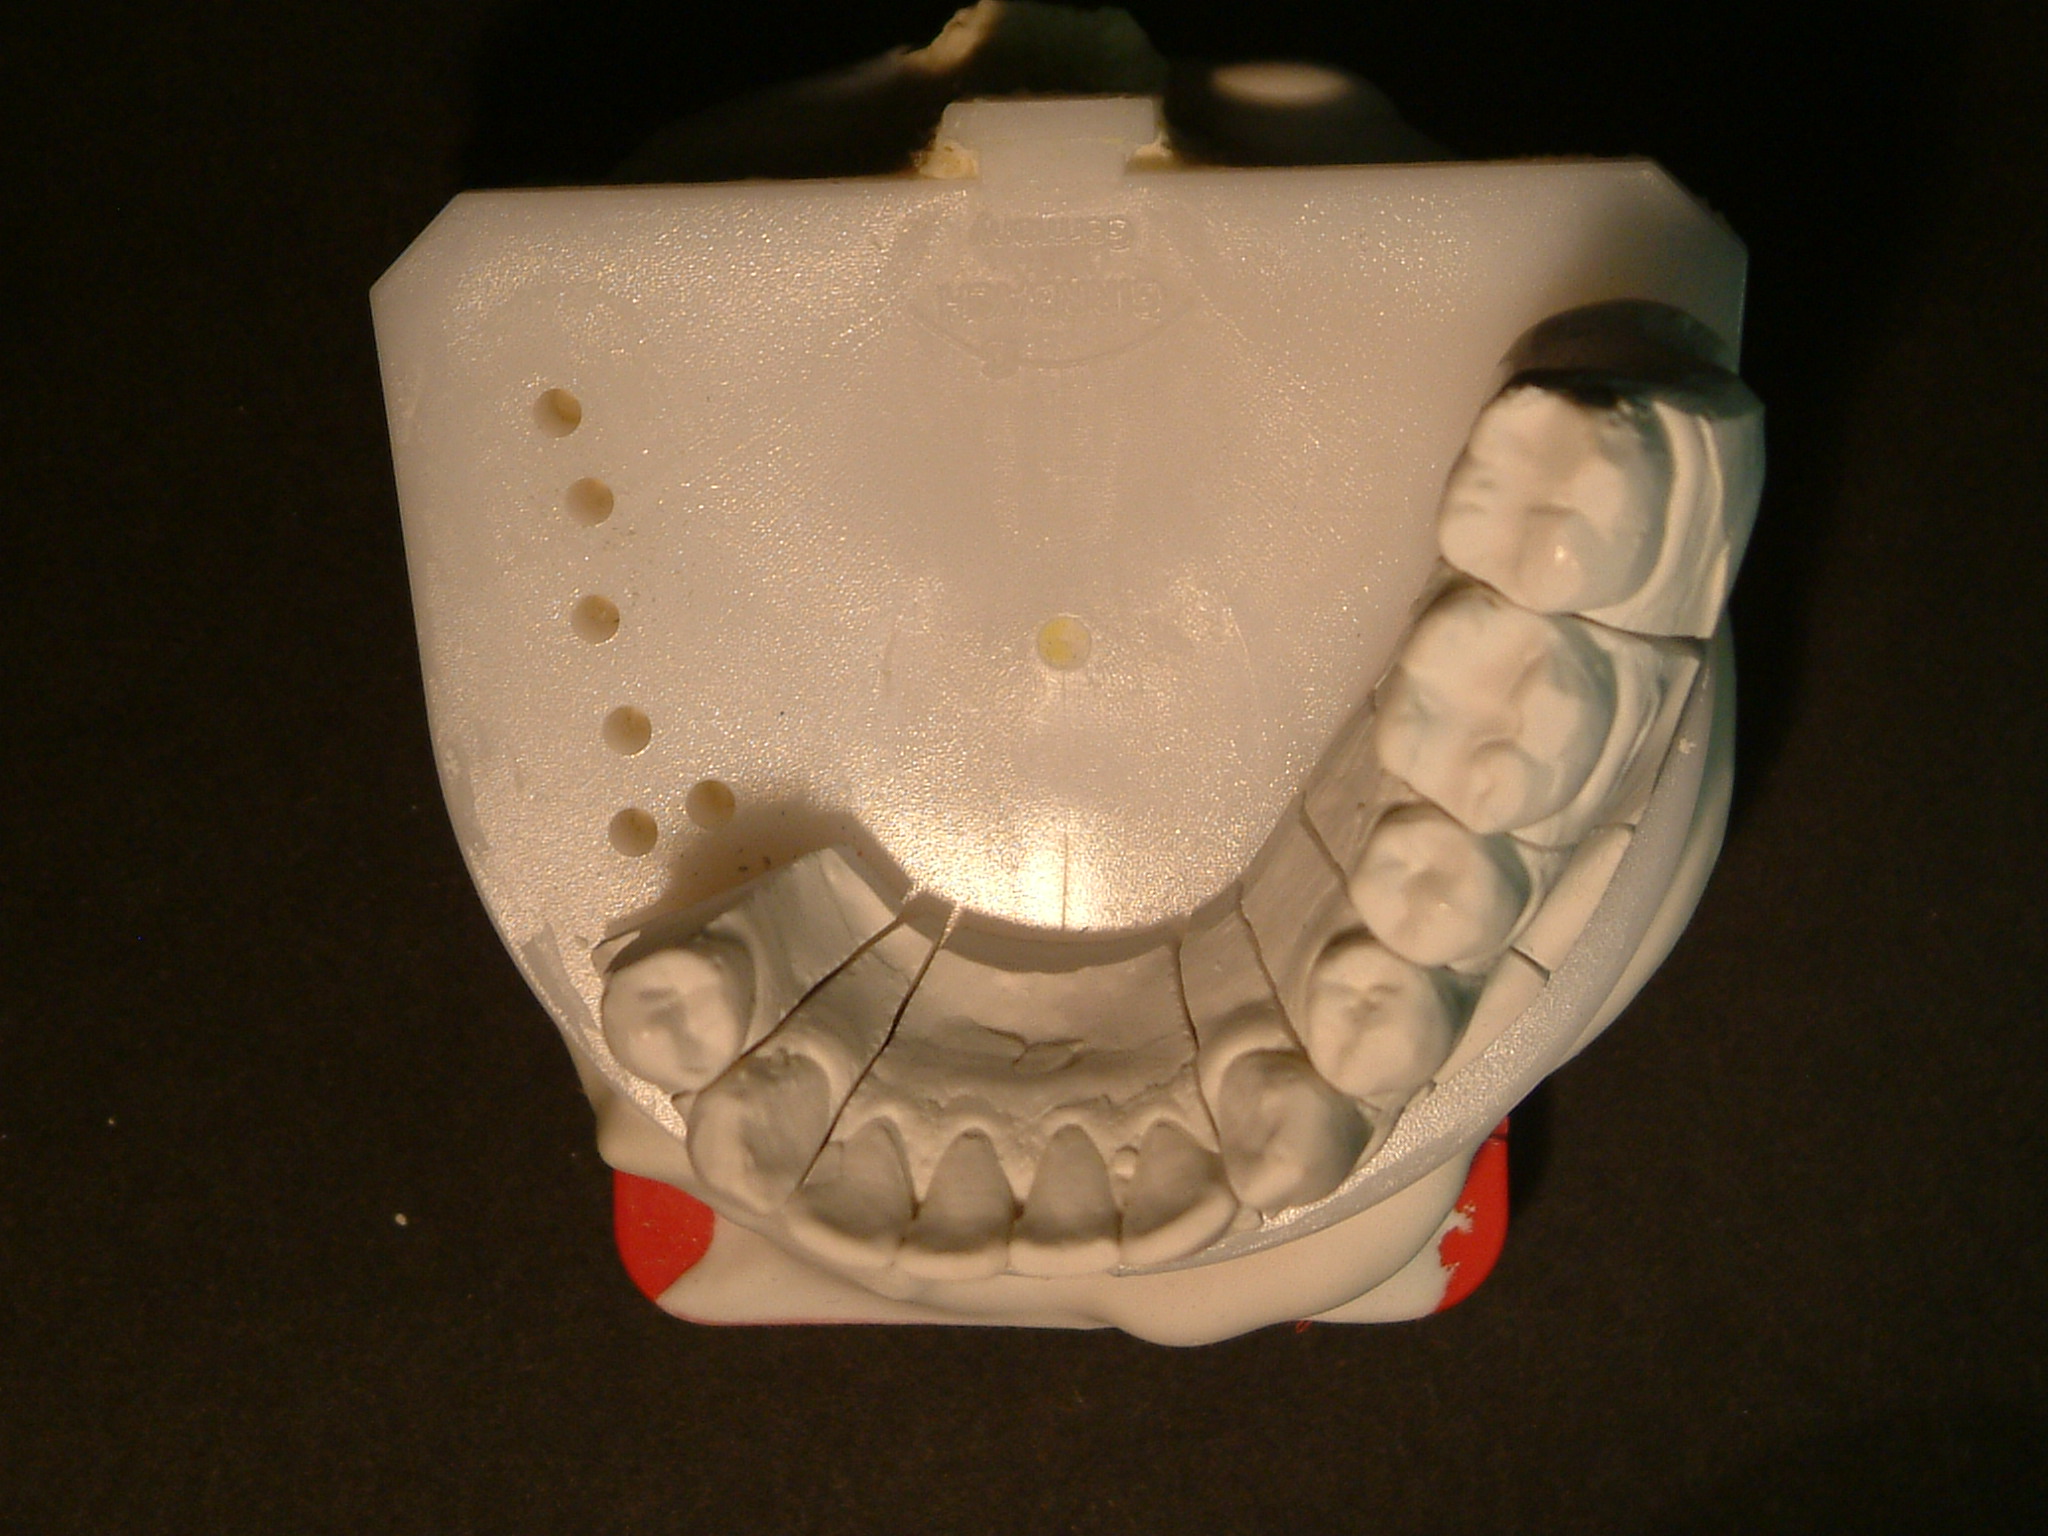
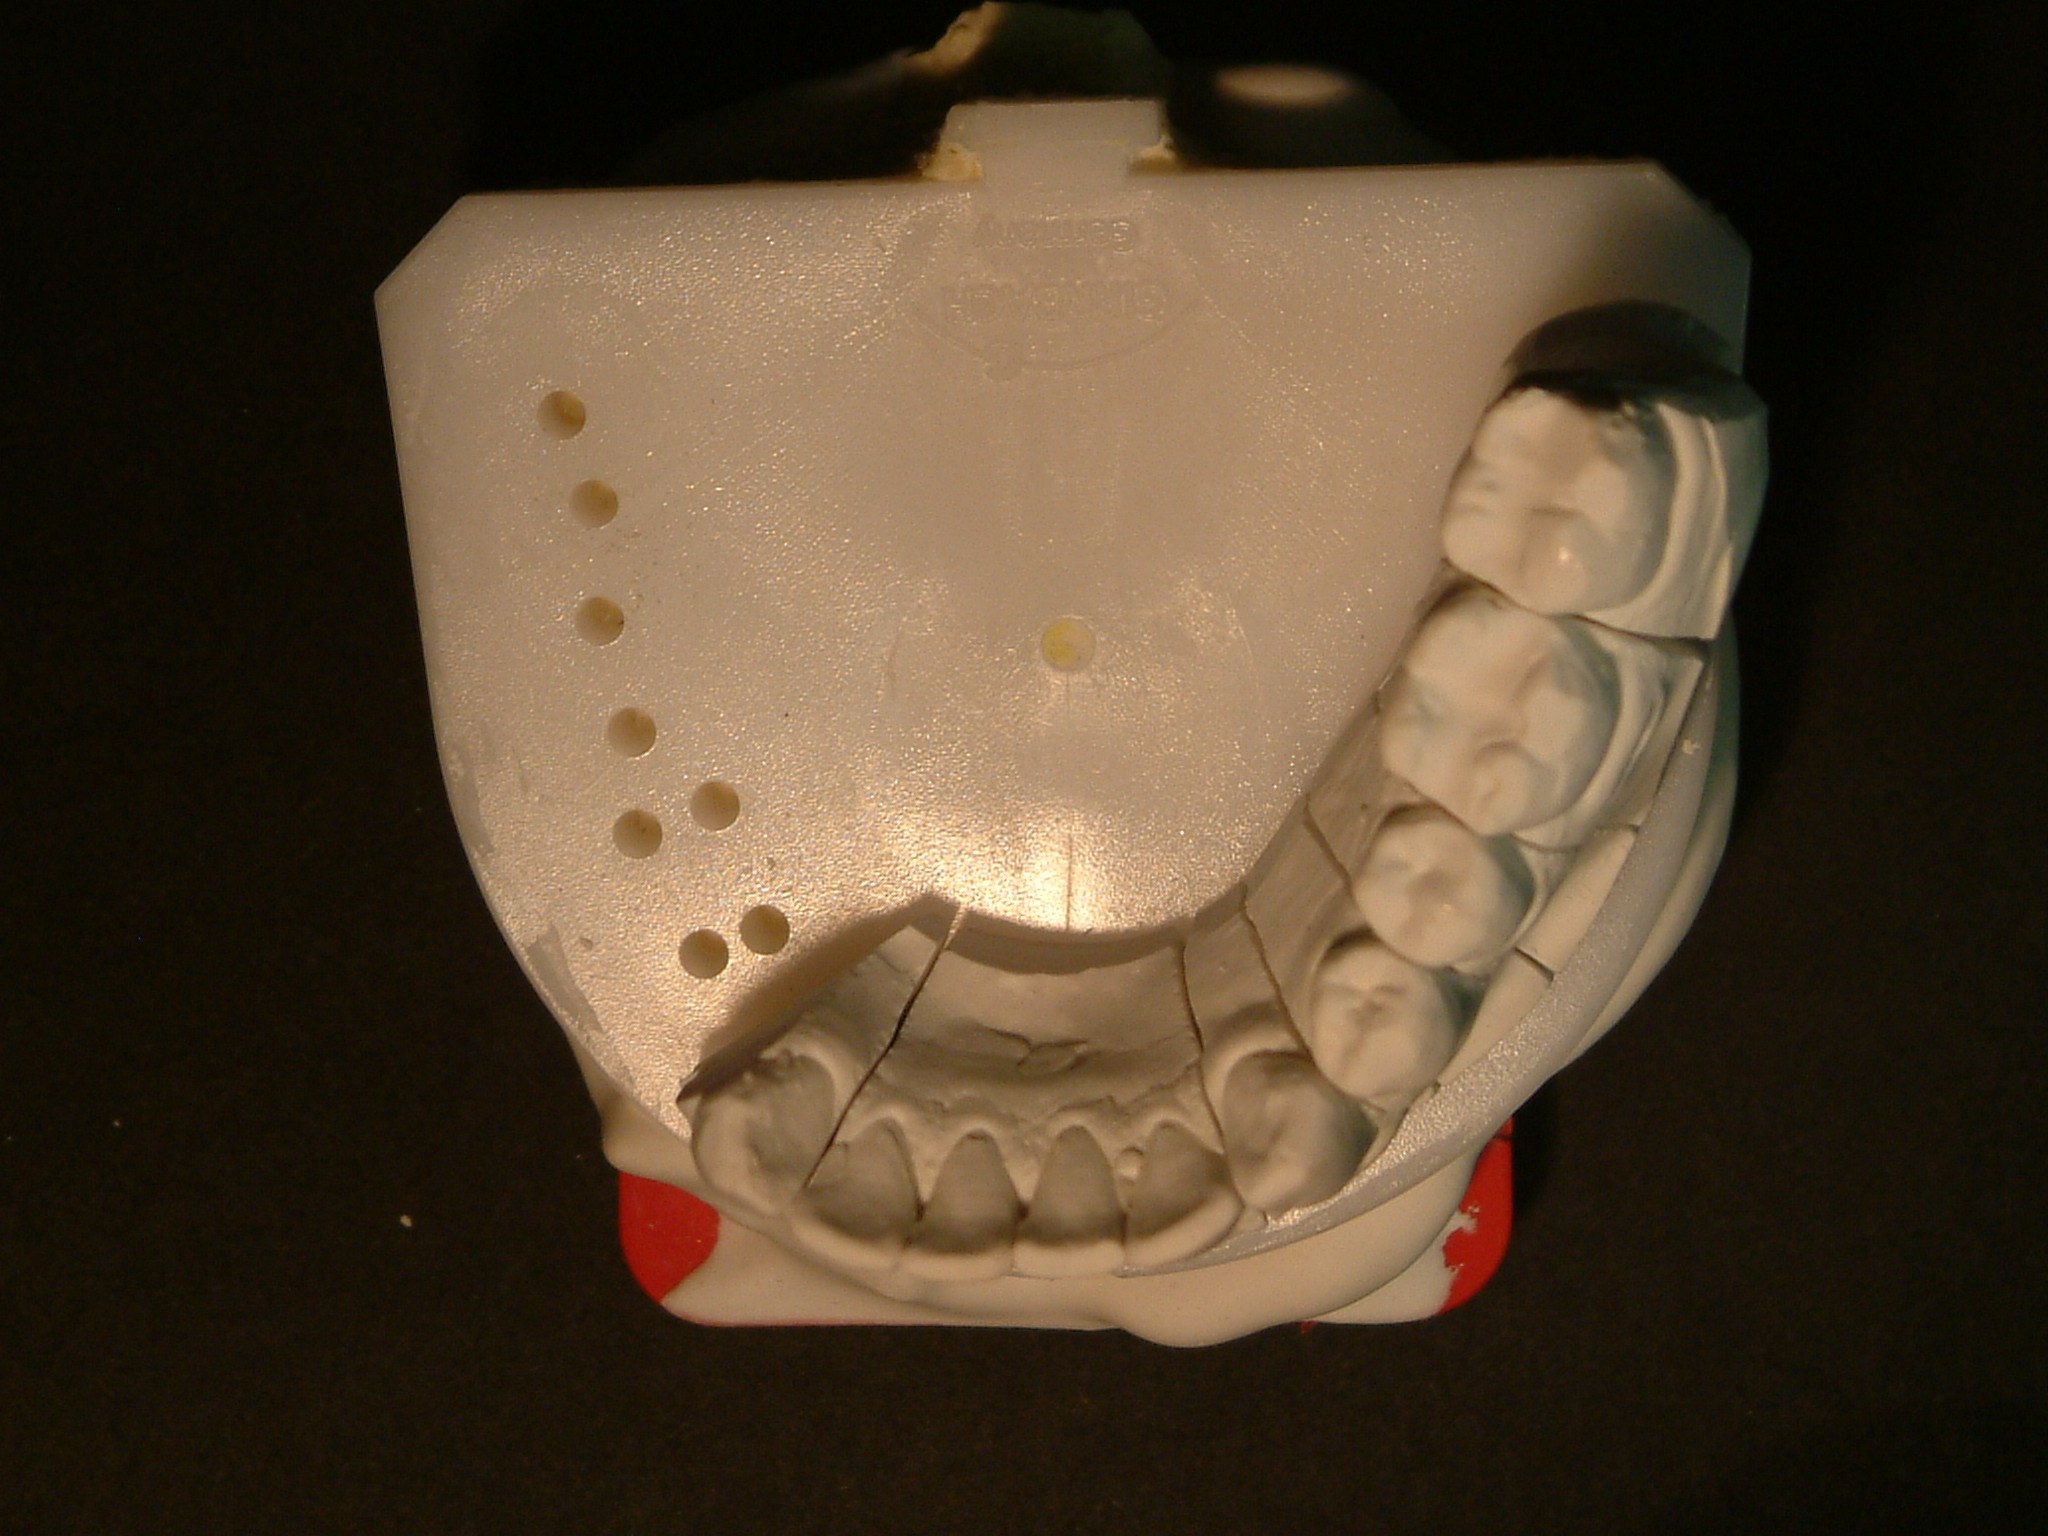
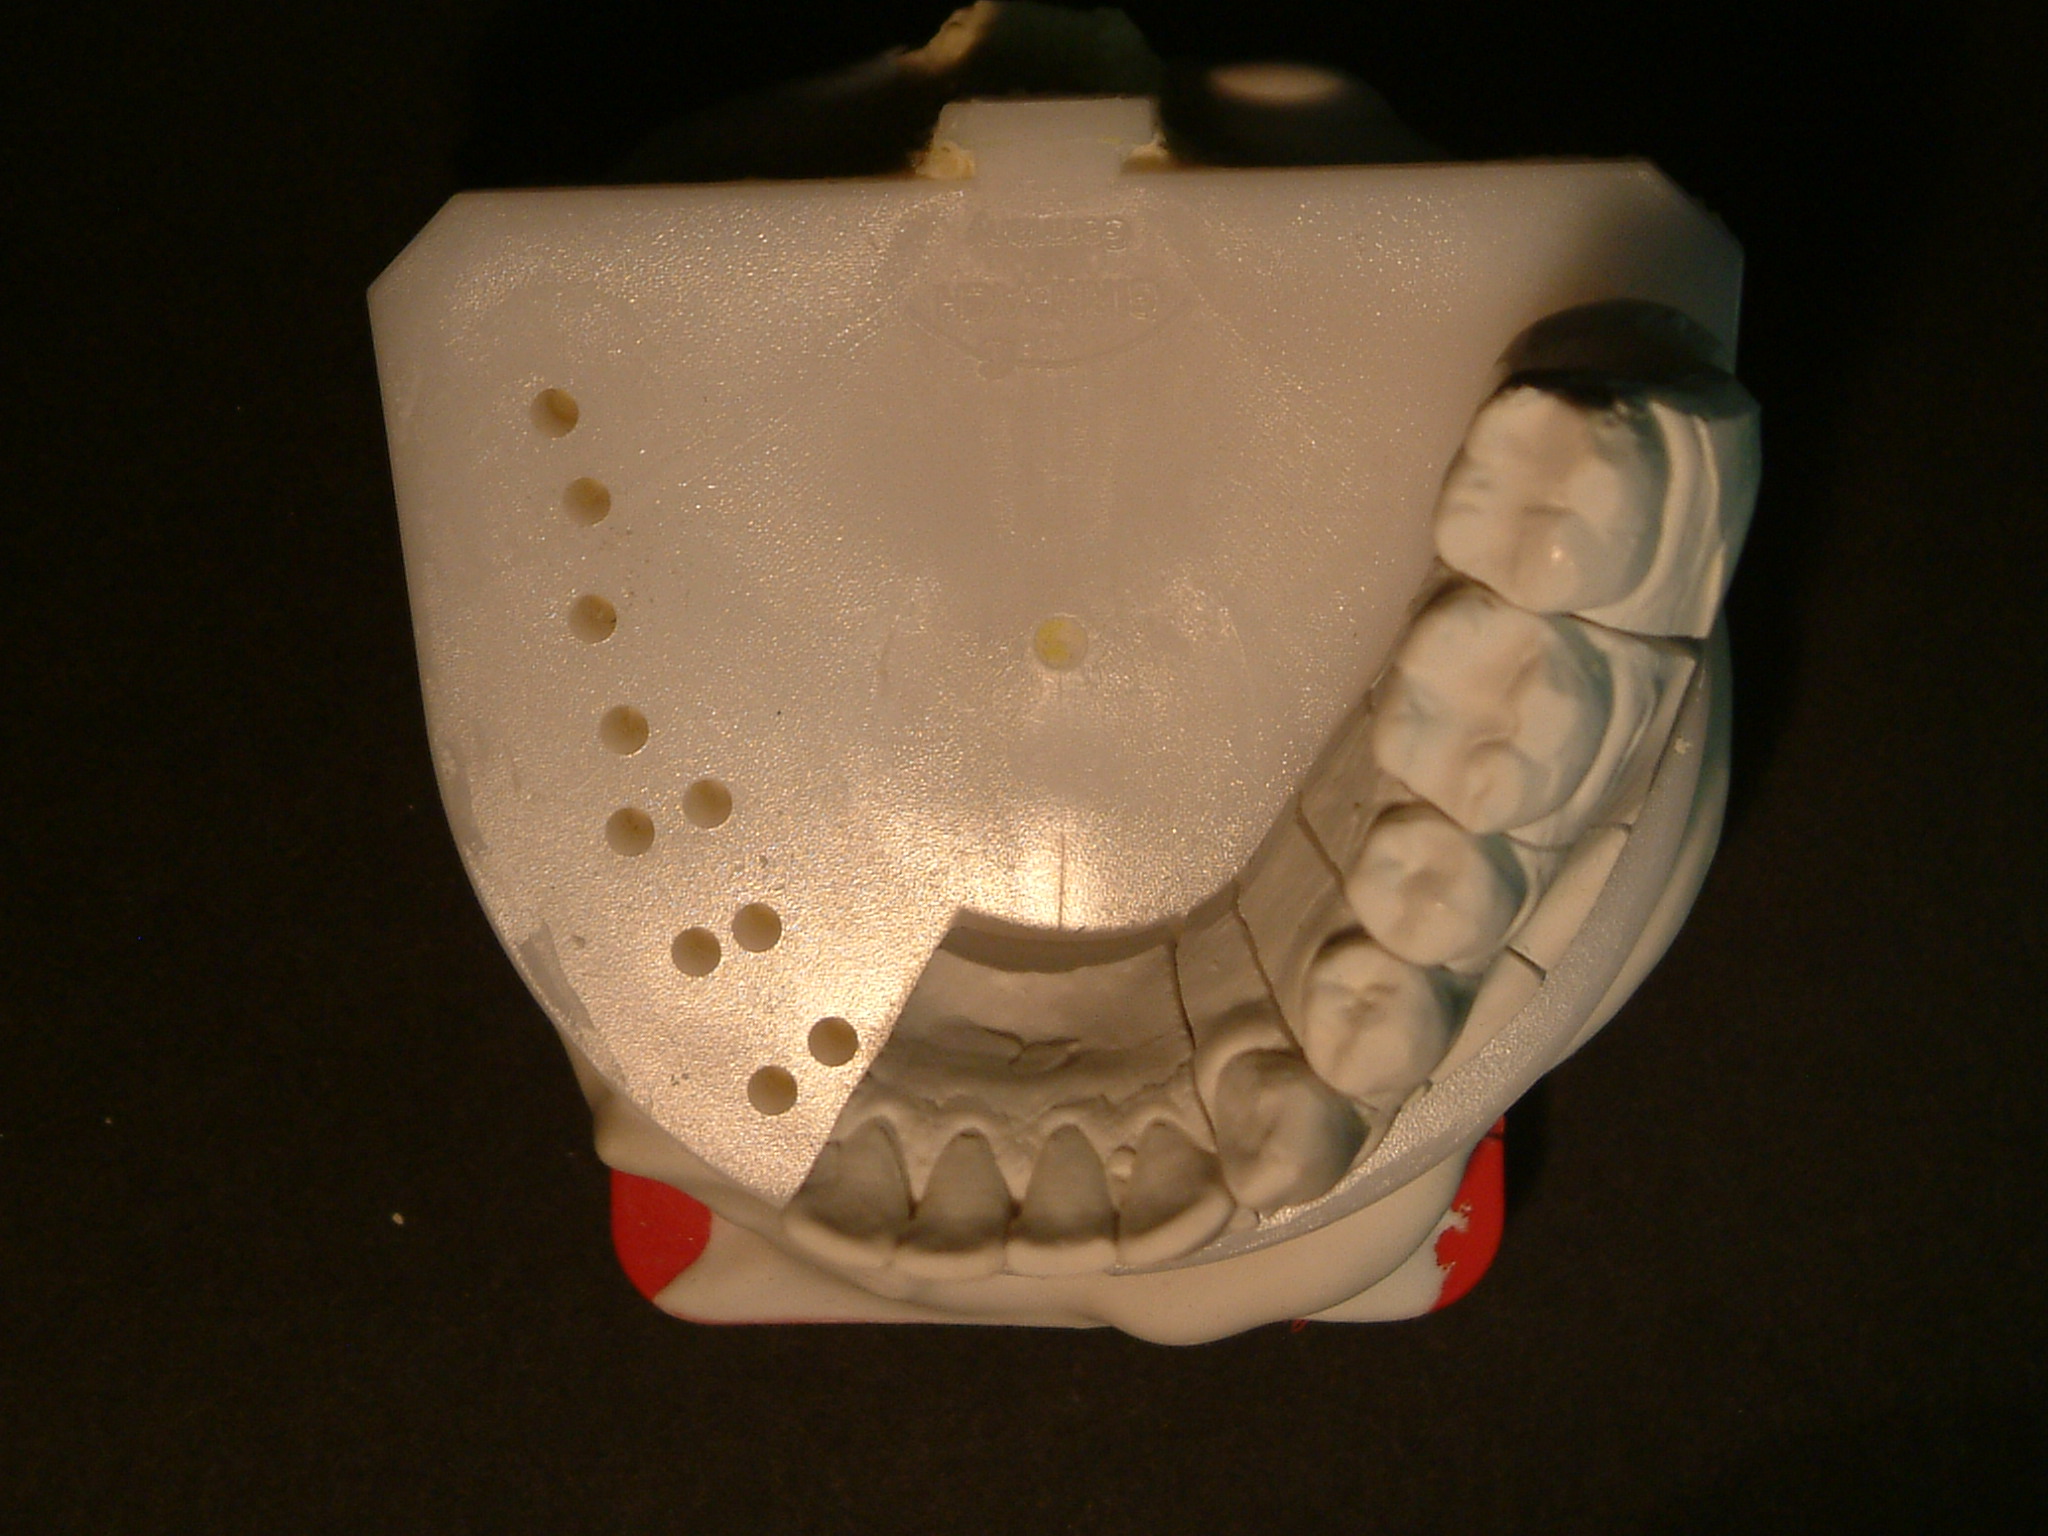
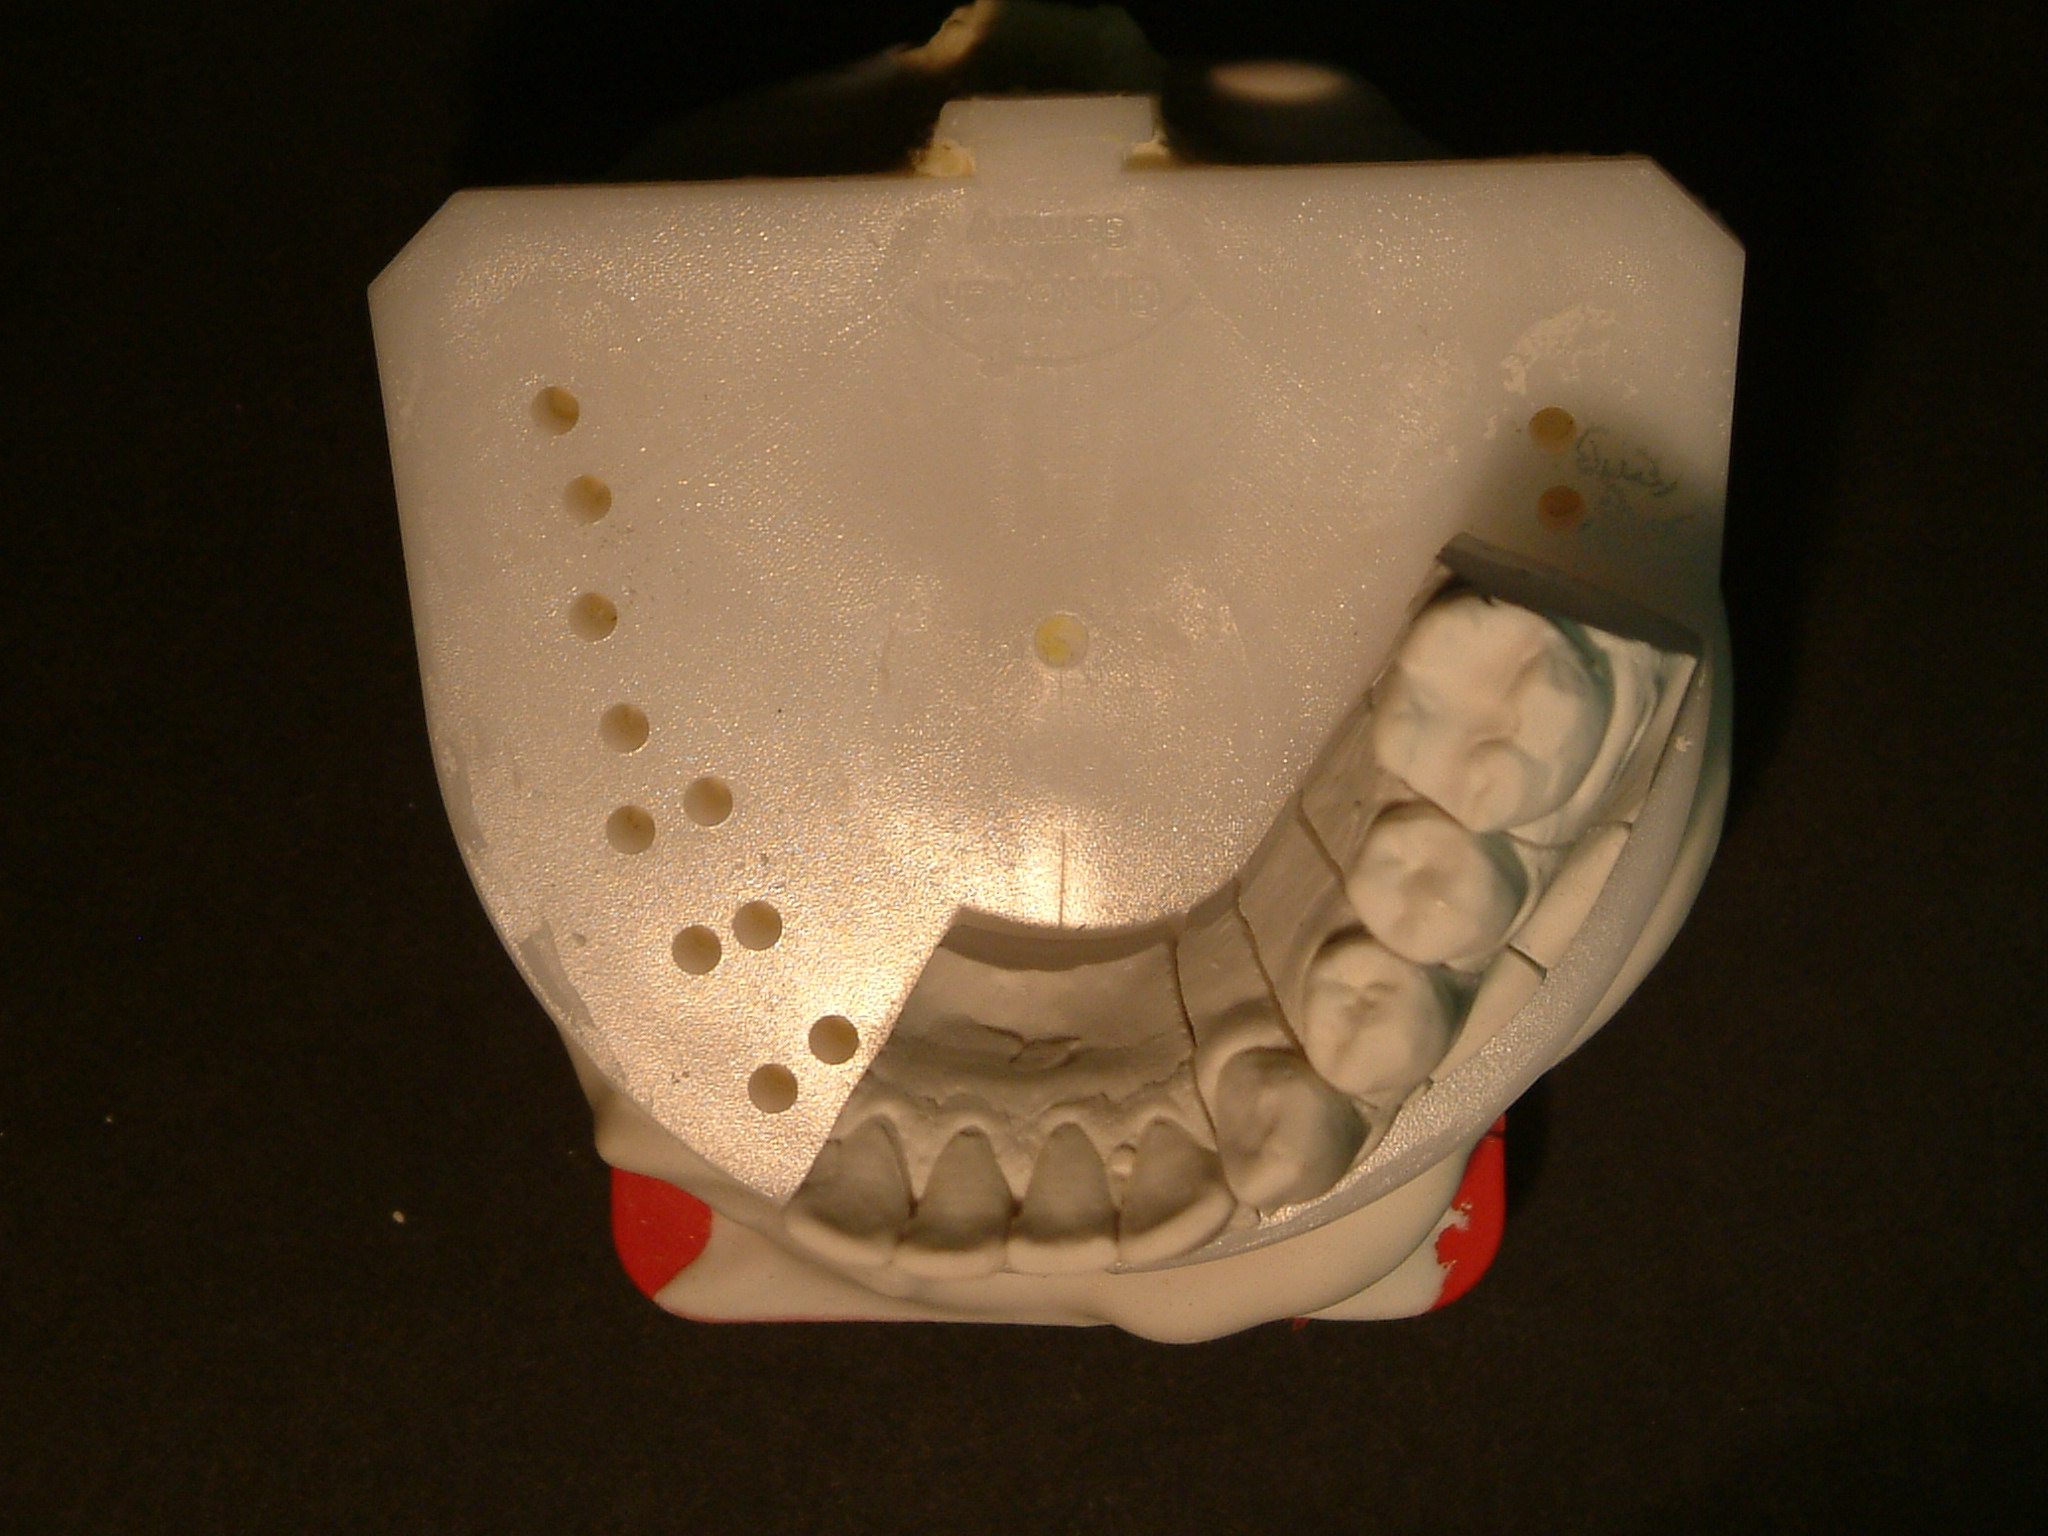
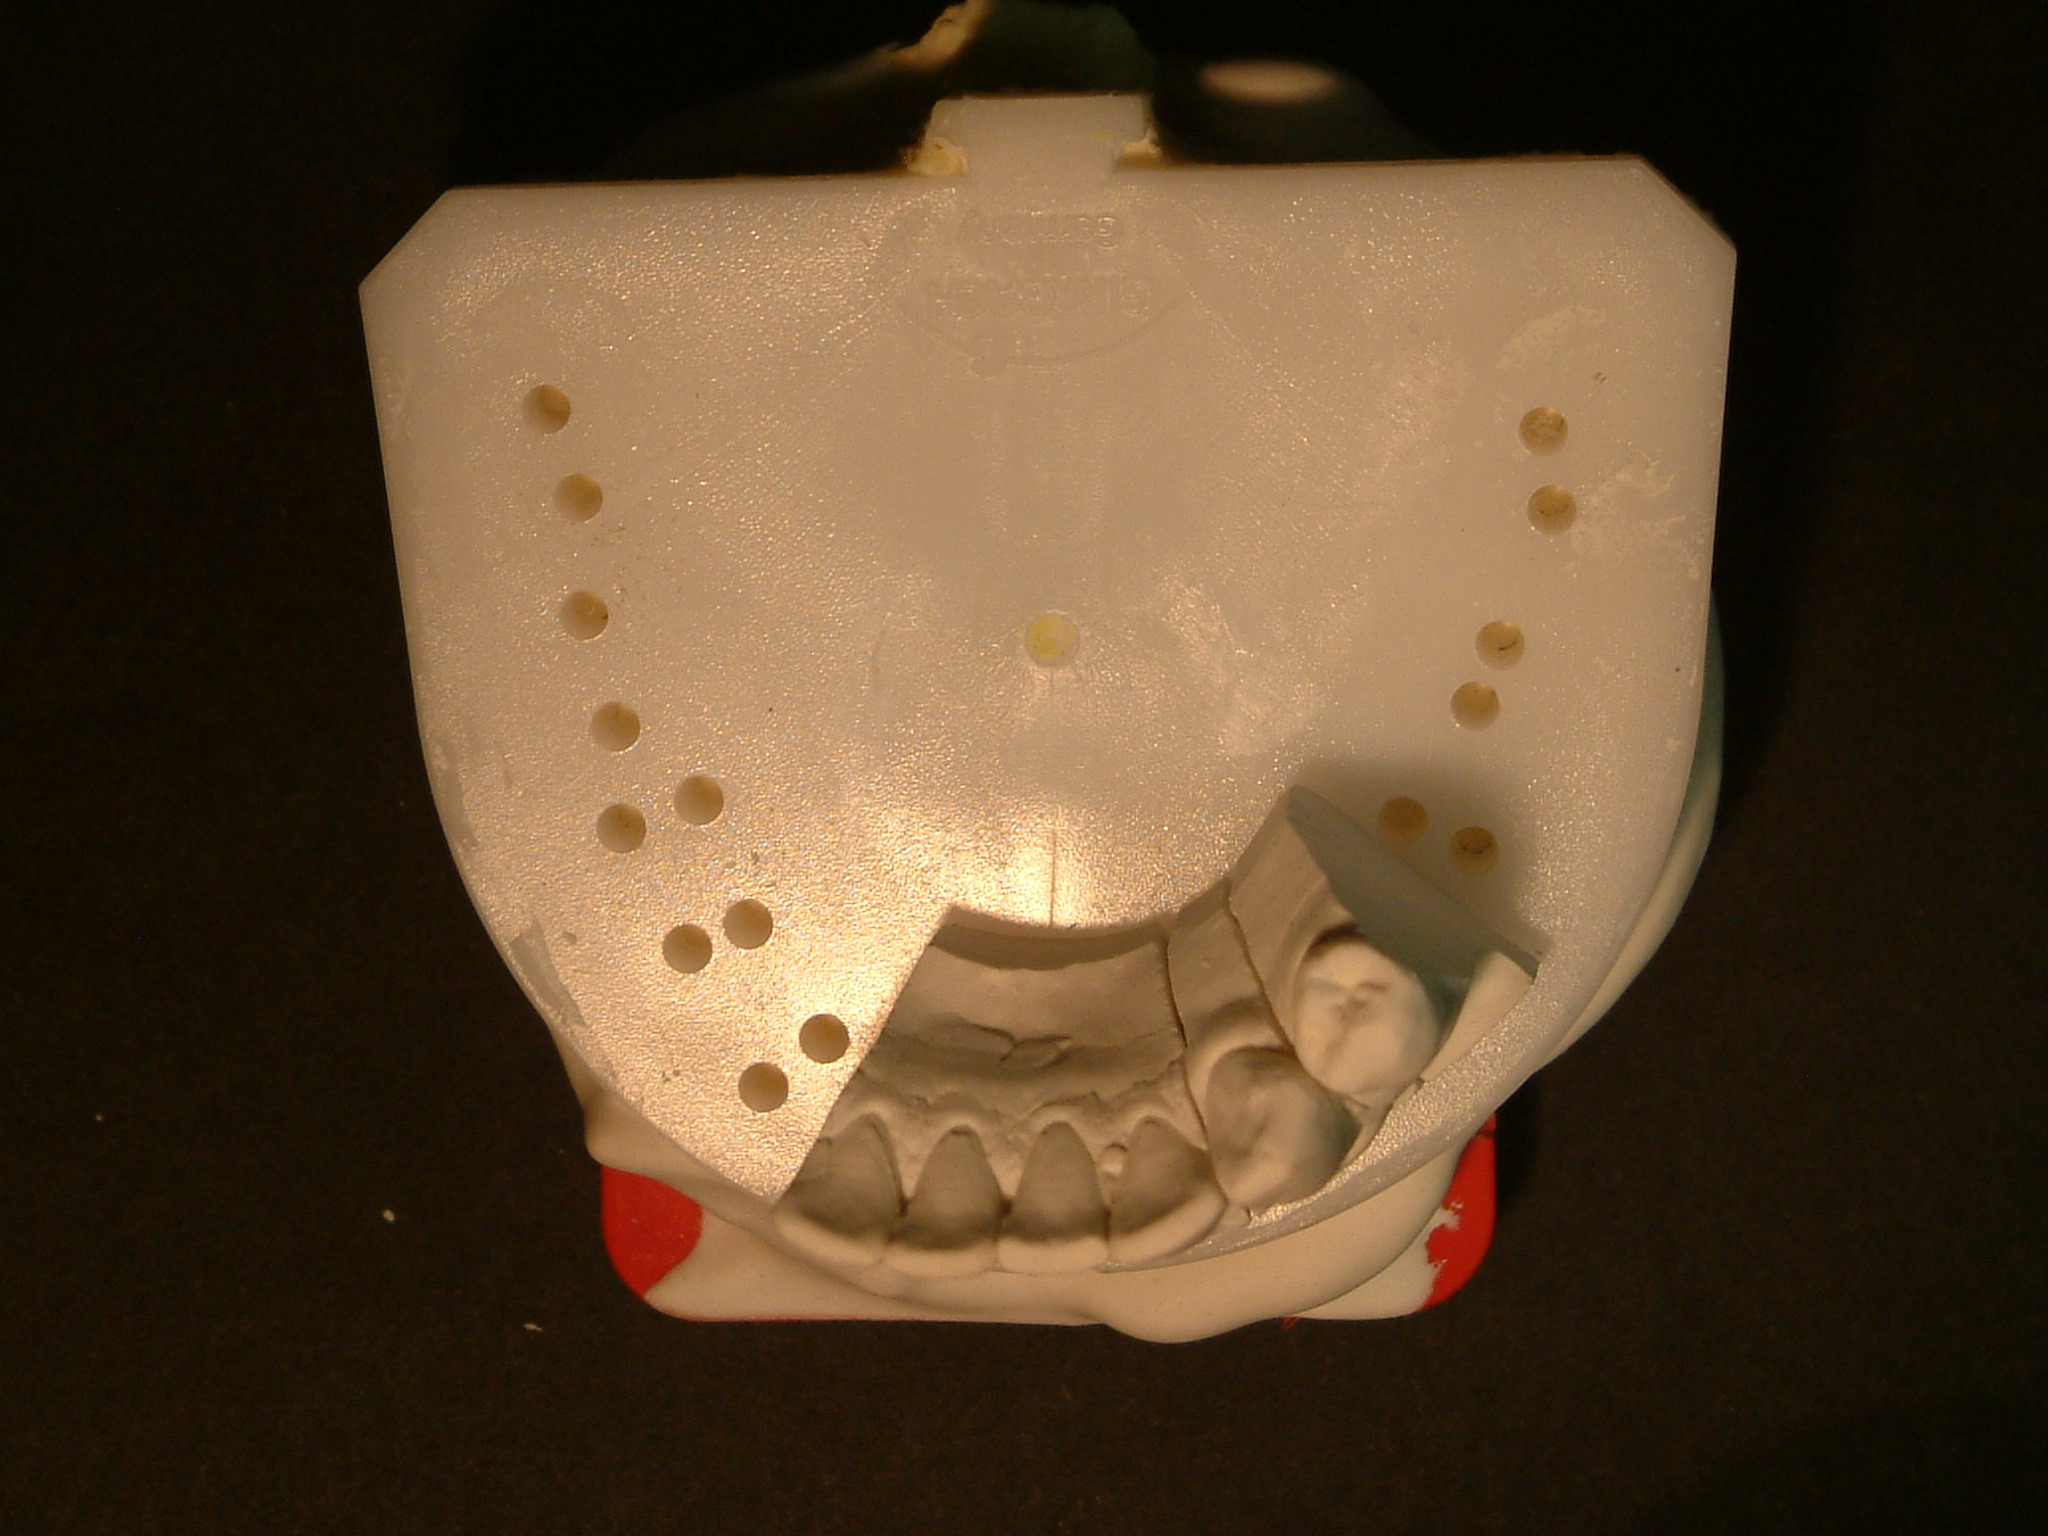
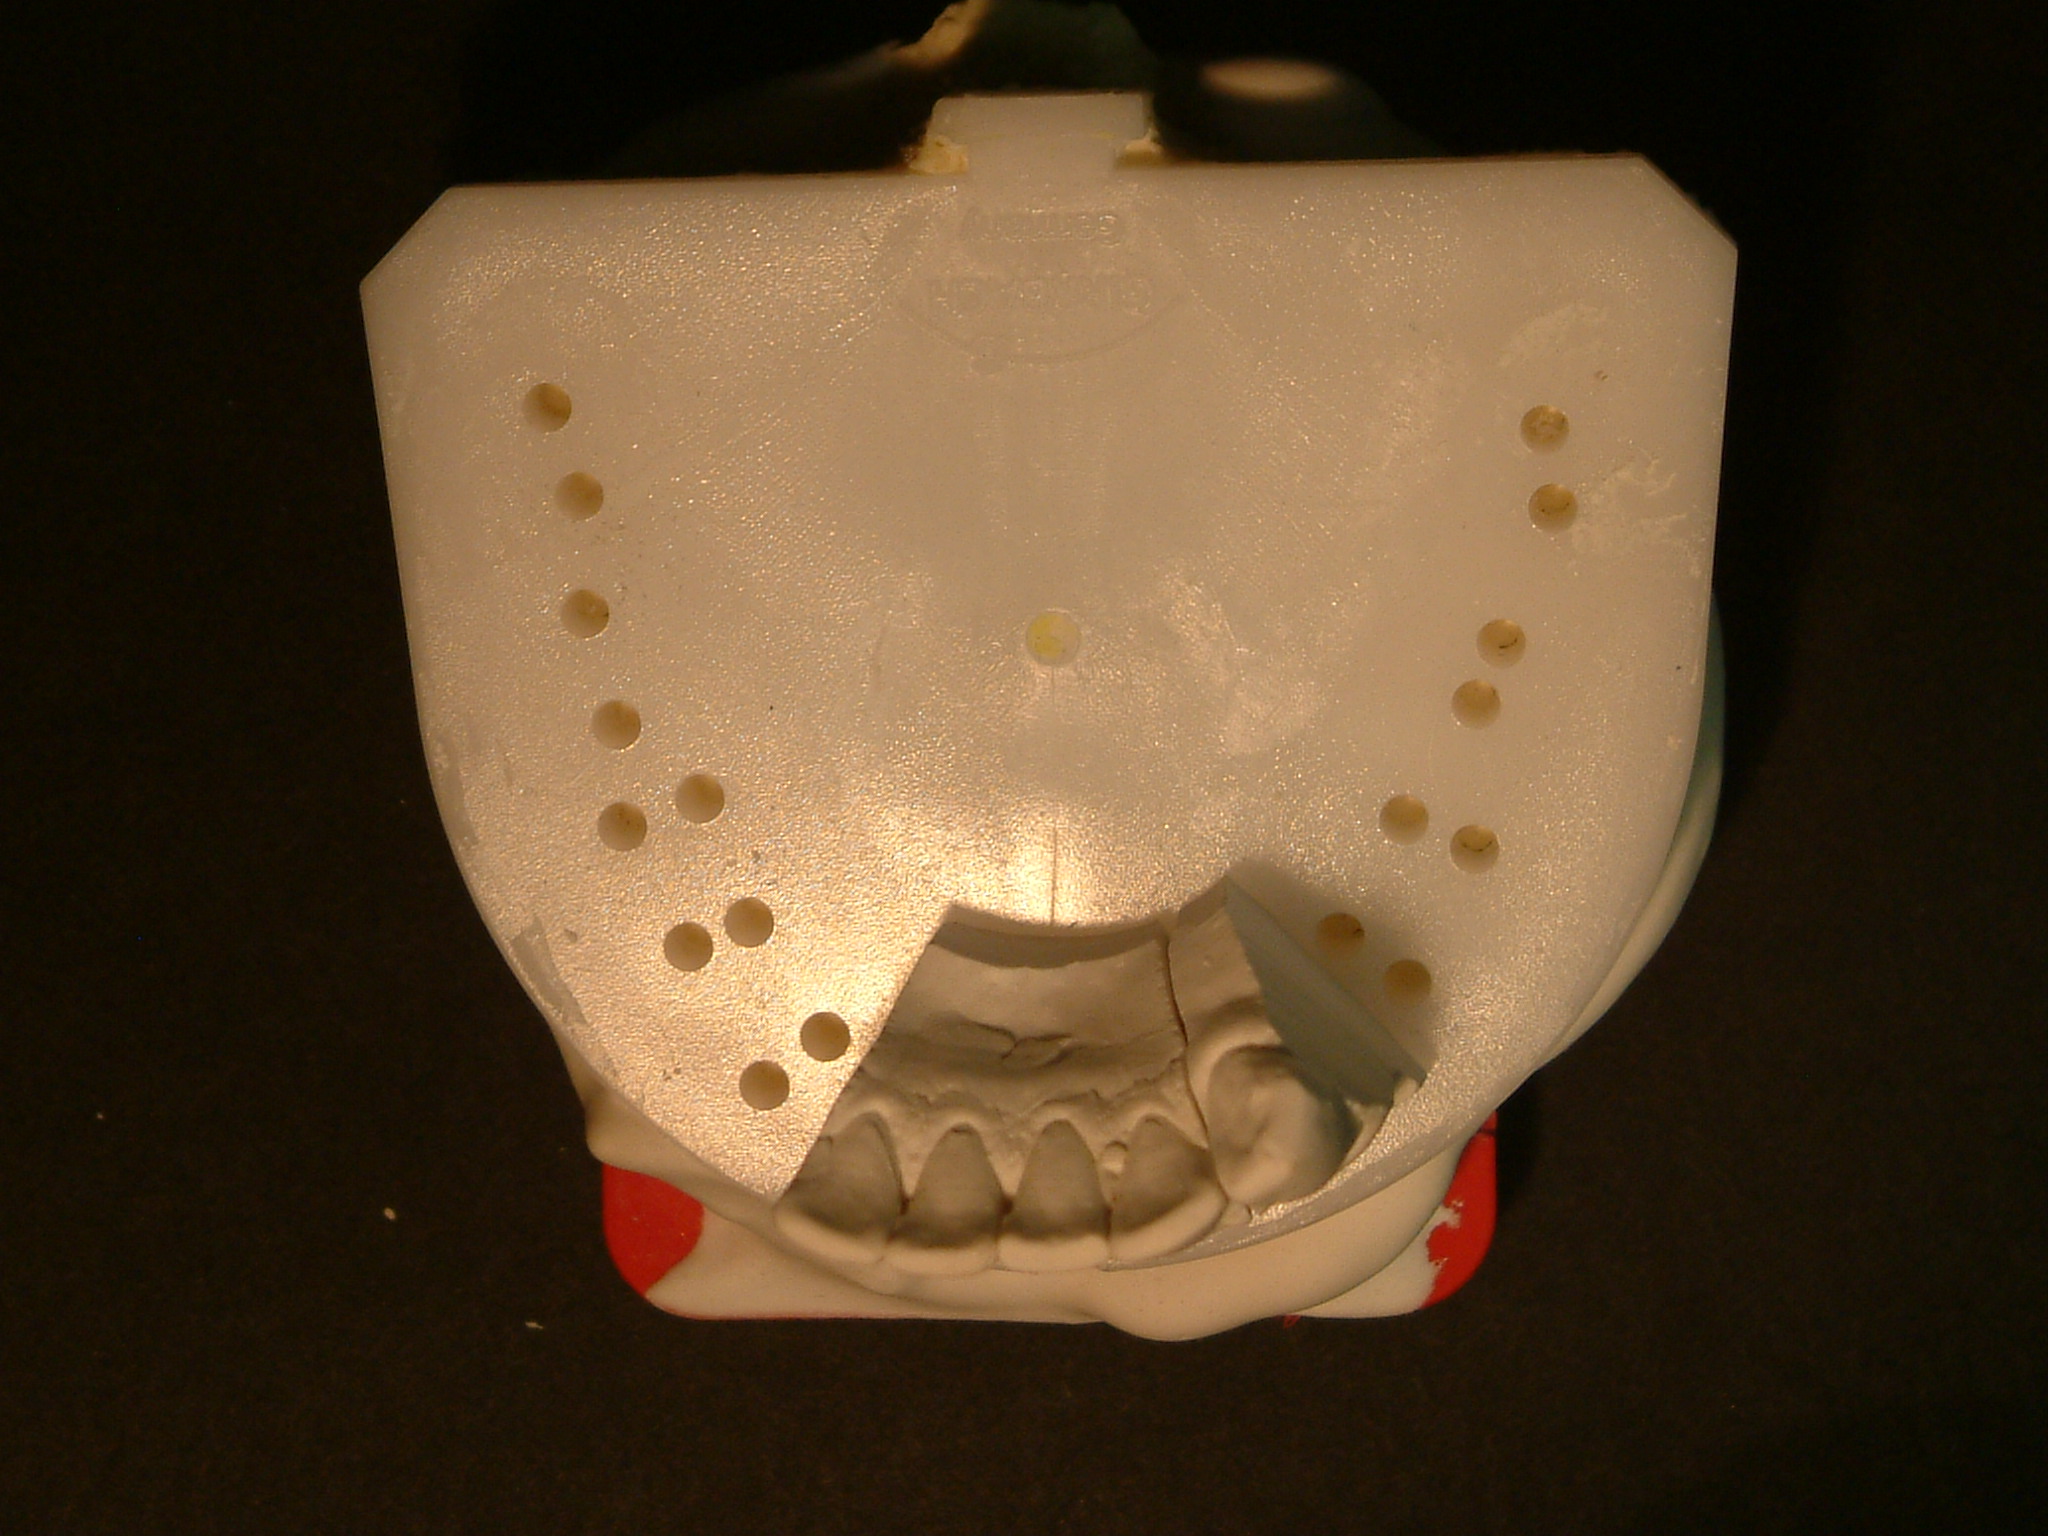
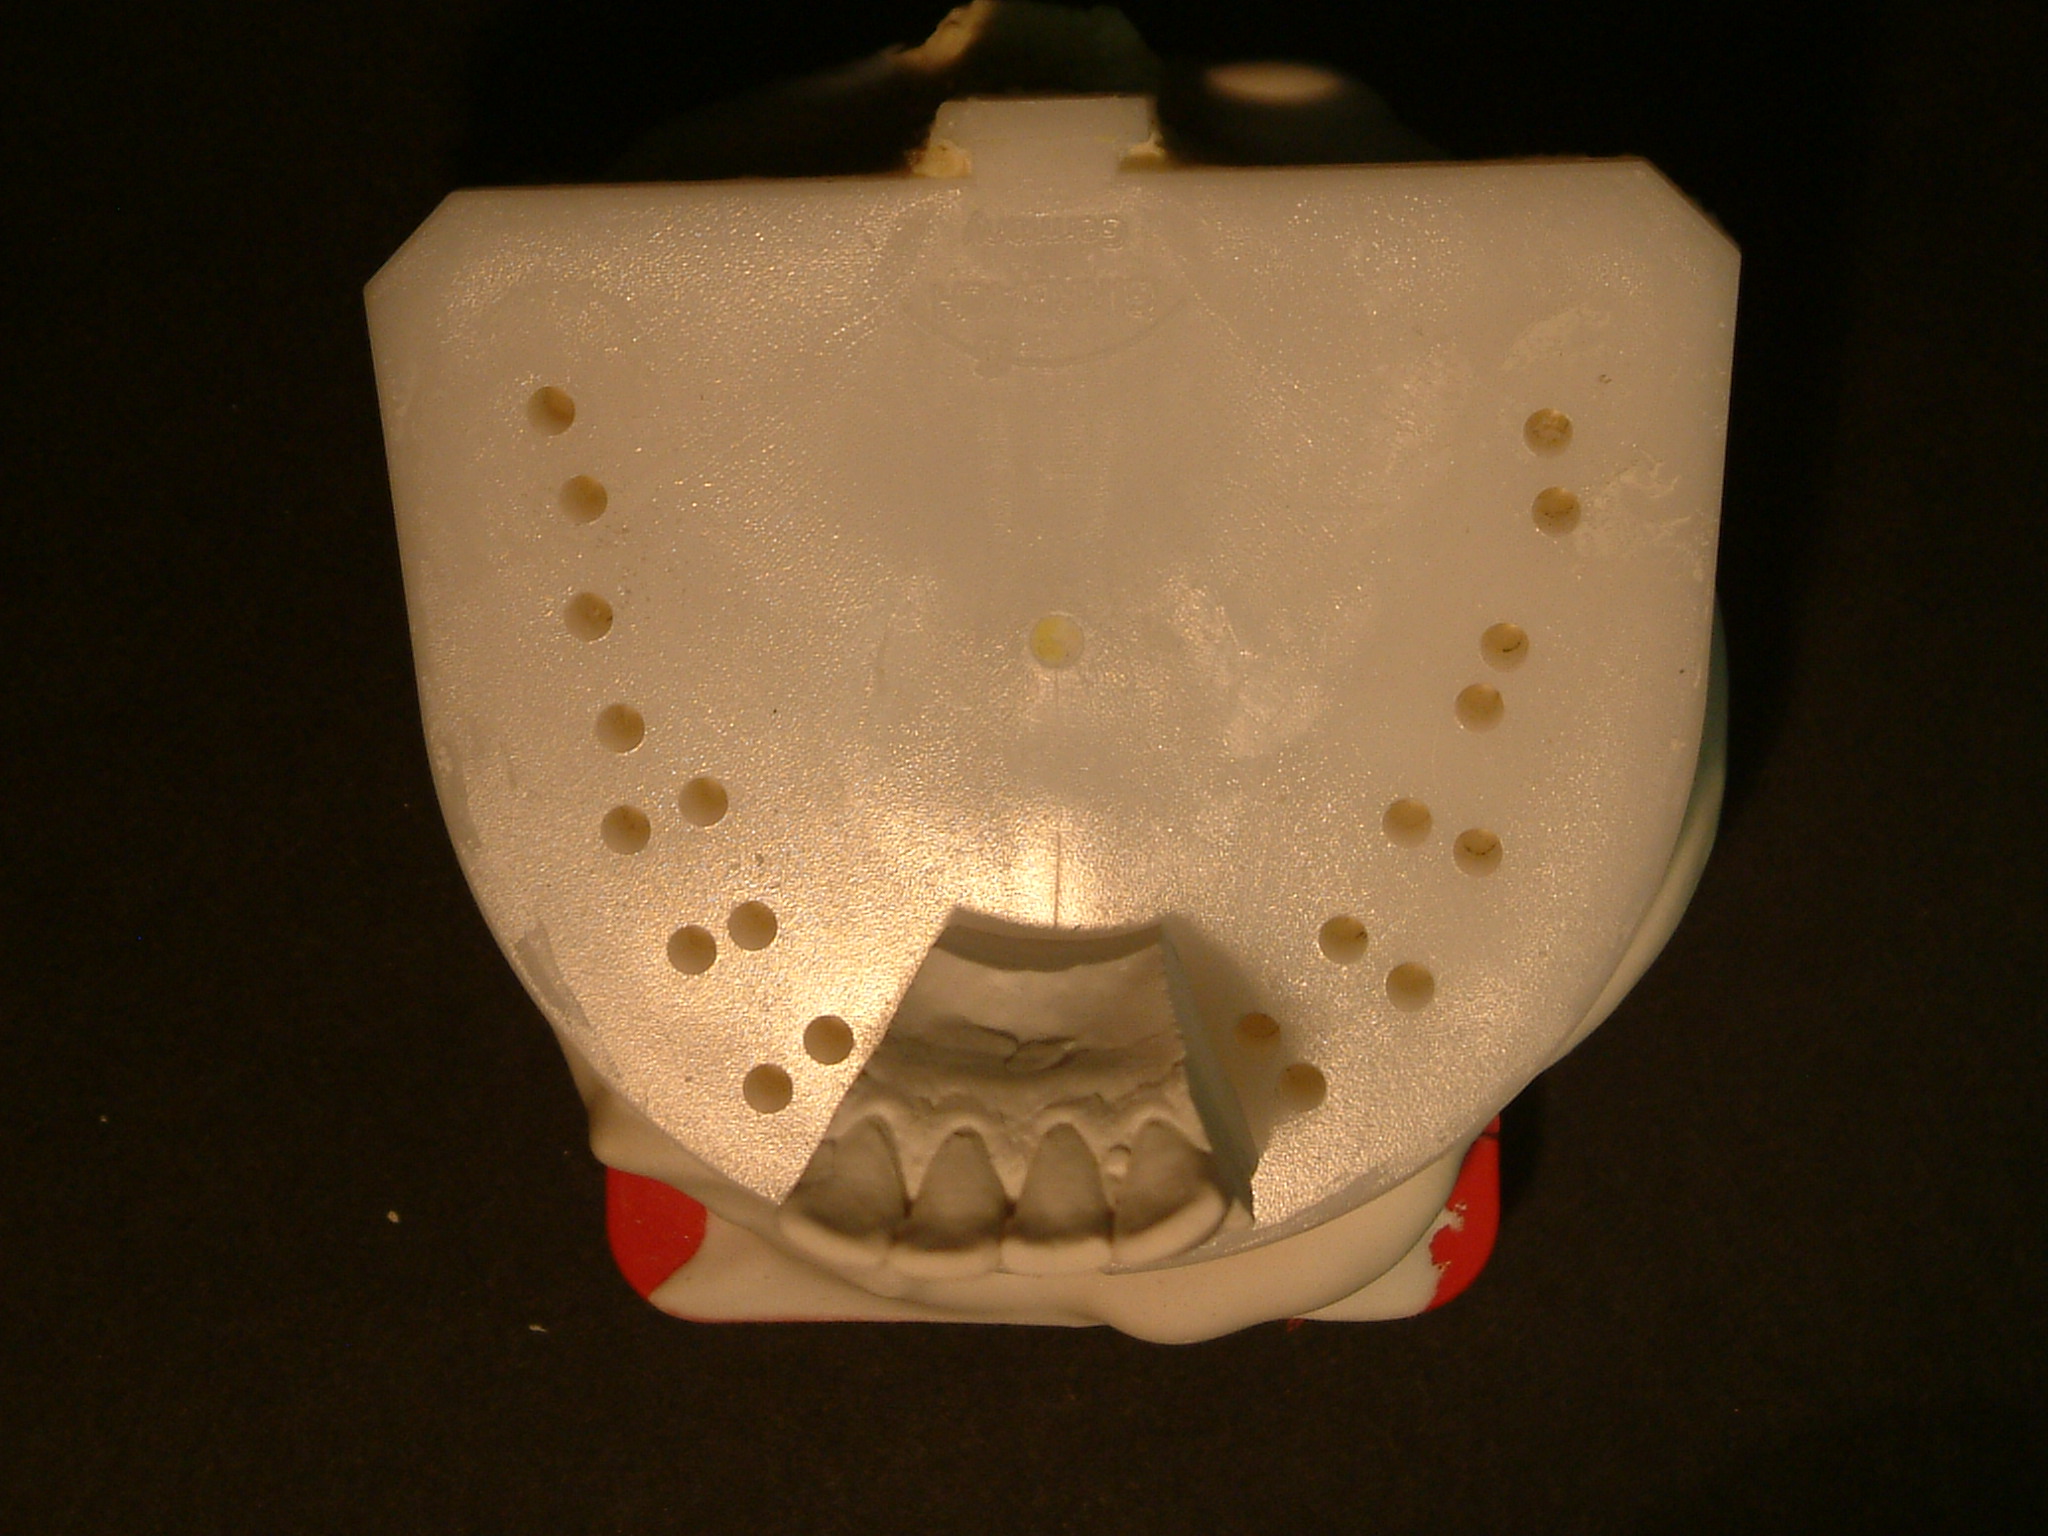
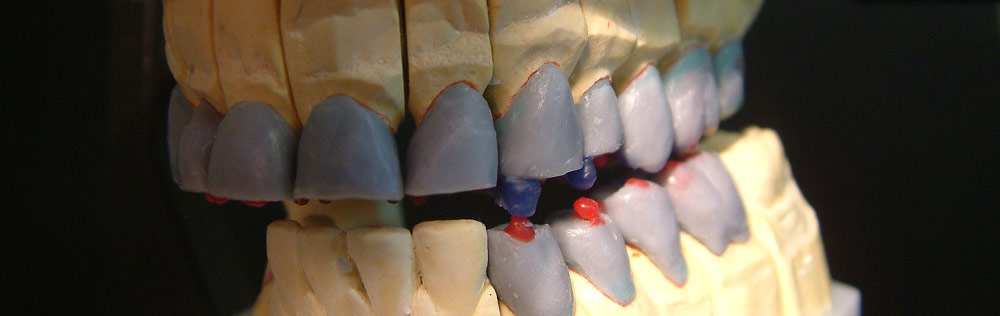
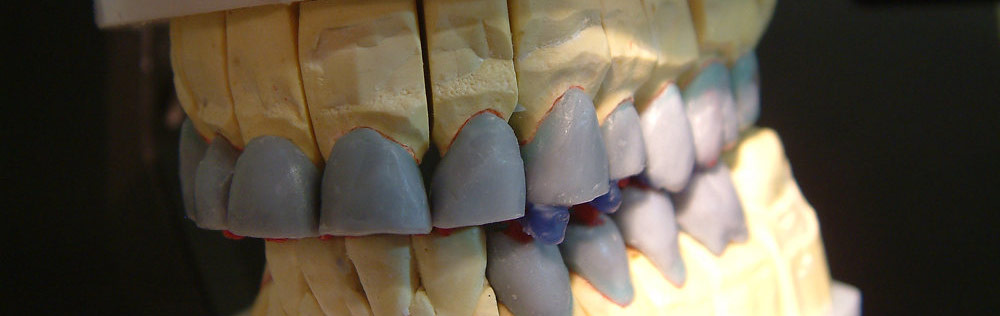
We have to arrange the upper model with split-cast.
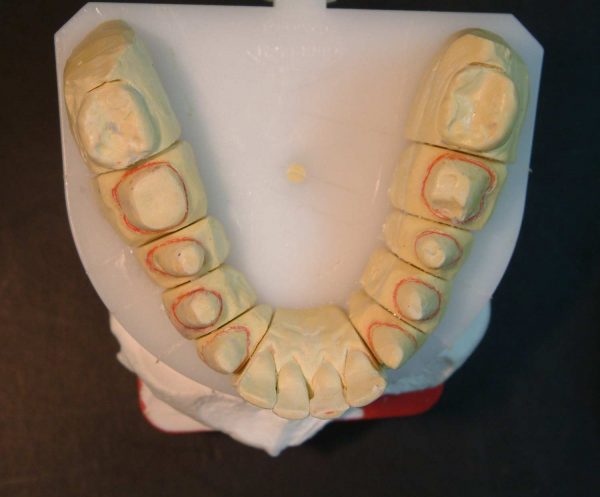
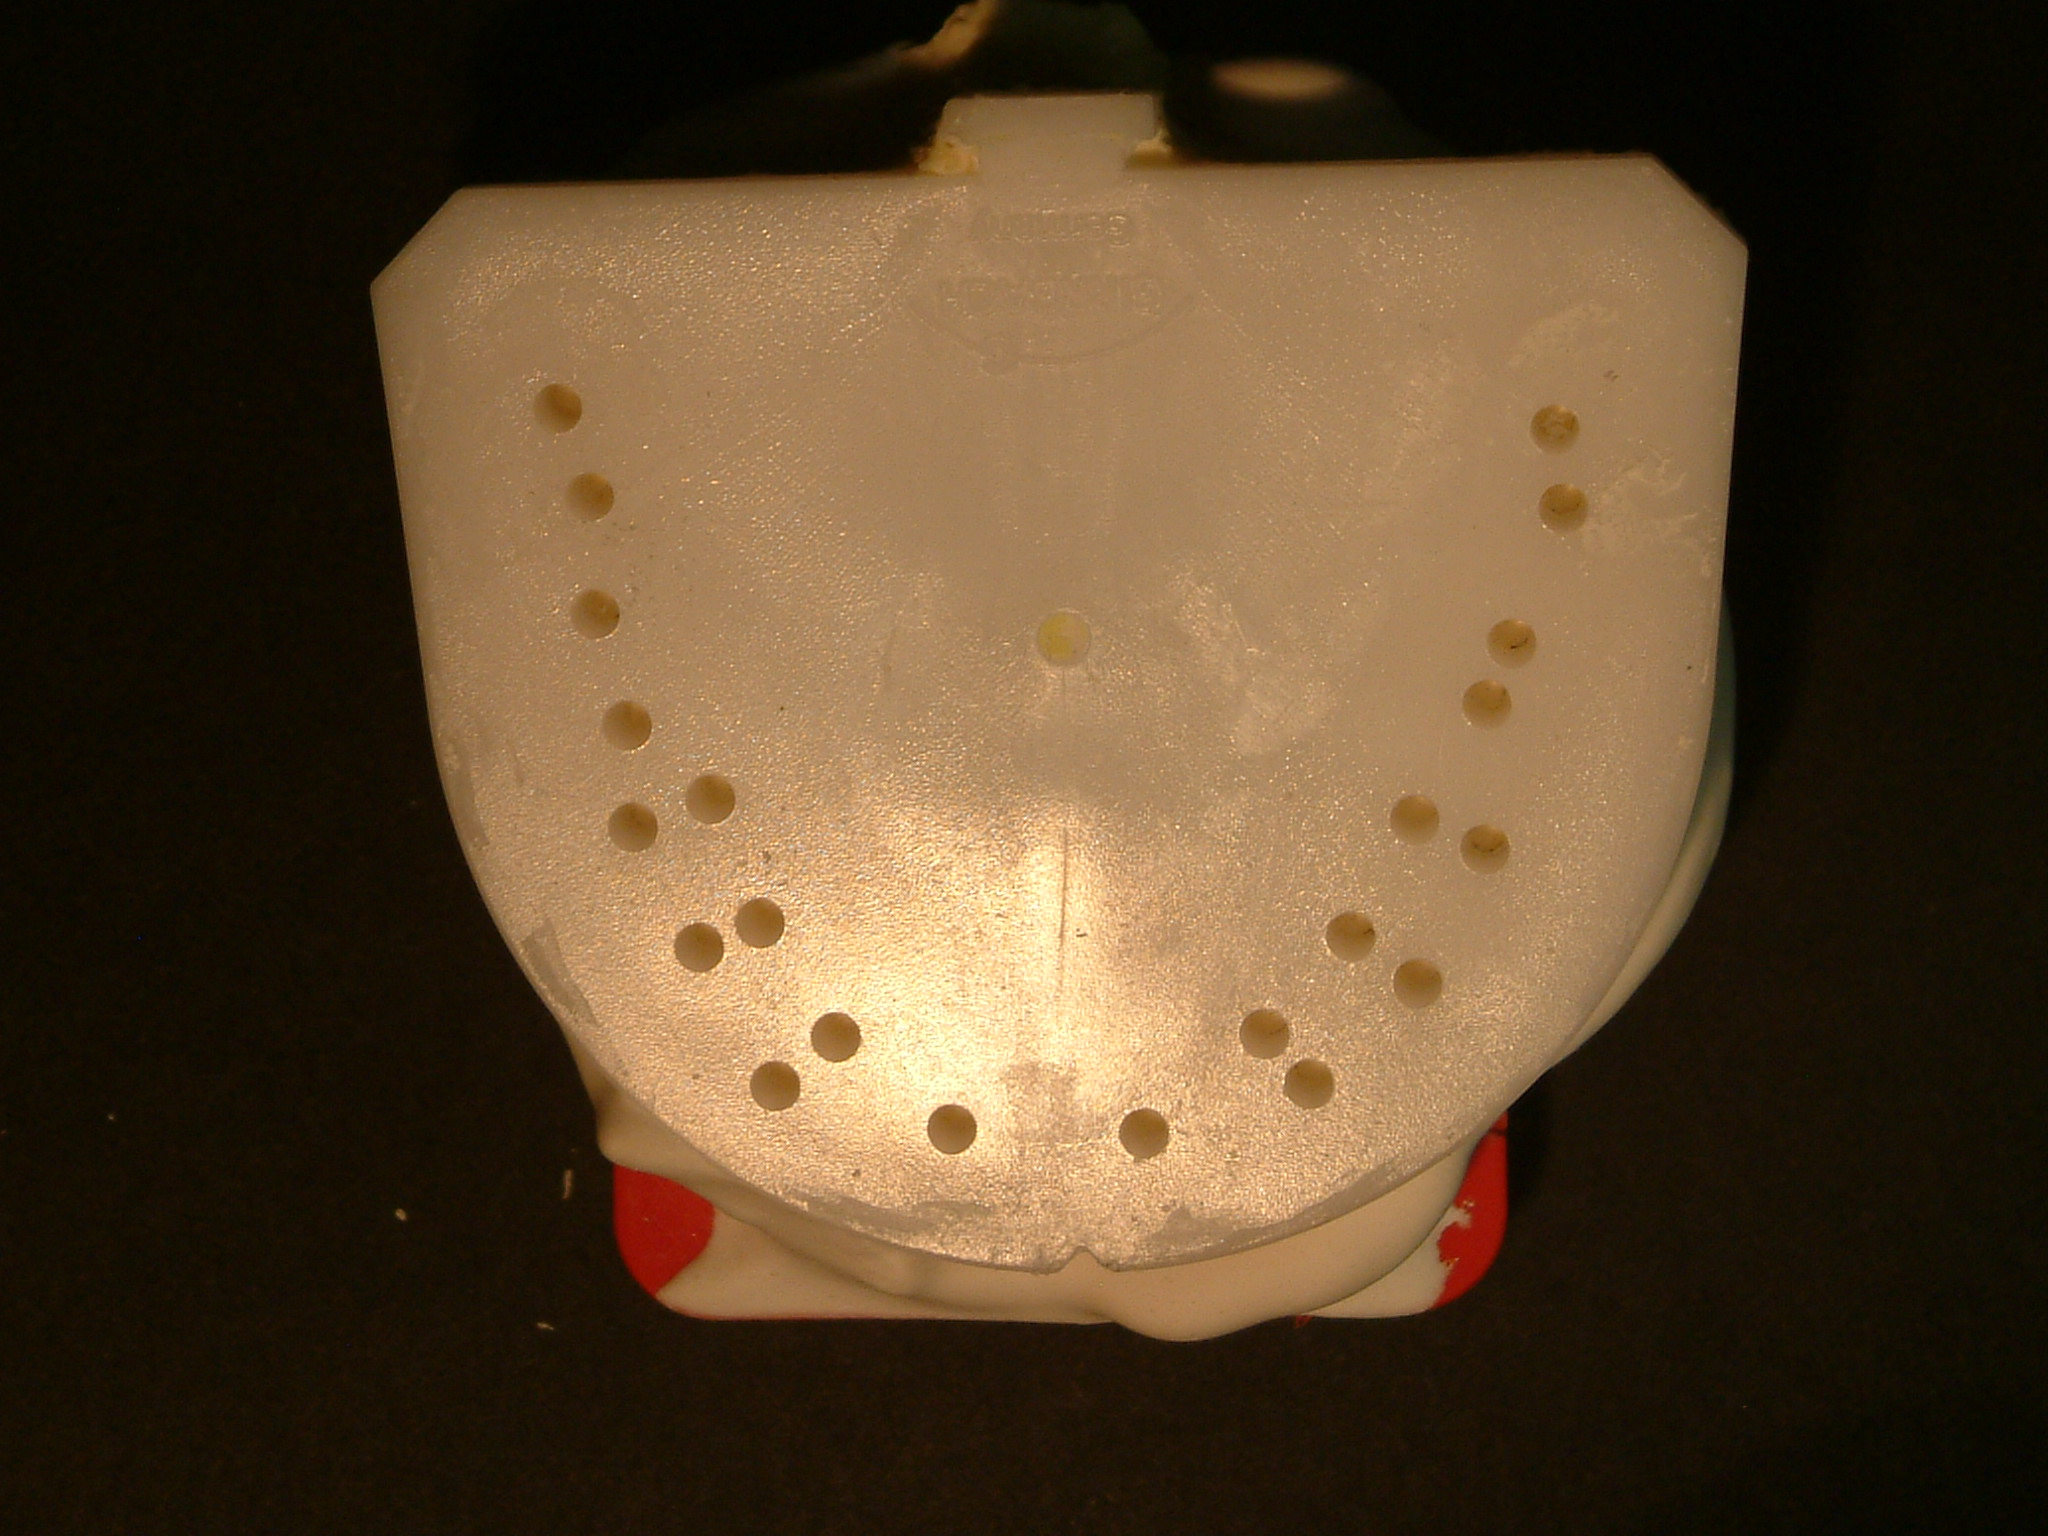
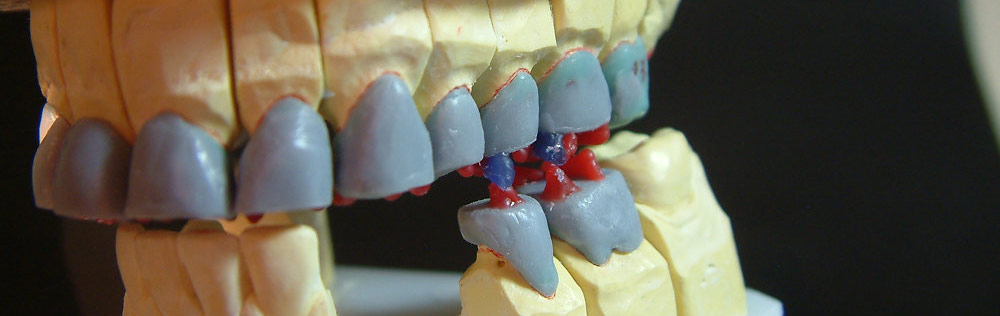
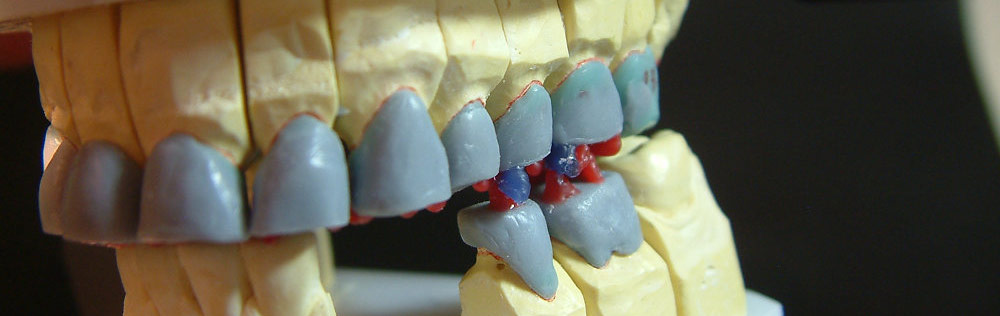
We have to arrange the lower model with removable dies for each tooth, except the group of the four lower frontal teeth; During the wax up, we need to remove some elements so that we can check the right sequentiality and the functional path of each waxed element.
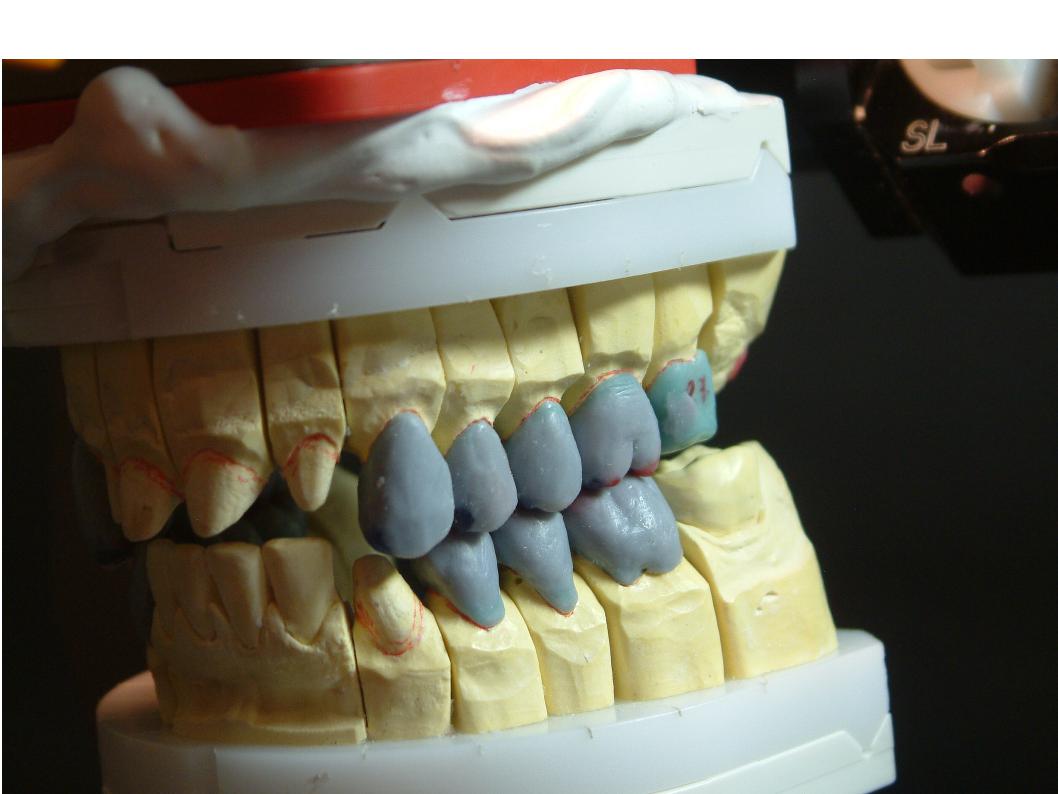
EXAMPLE OF CORRECT REALISATION OF THE LOWER MODEL WITH REMOVABLE ELEMENTS (slider).


After having accurately arranged the model and assembled it on articulator, we can start to realise the sequential wax up.
Wax up in skeletal class I
The first step is to wax the cones of the lower active centric line and of the upper passive centric line so that they correspond to each other (See: active and passive centric arch).
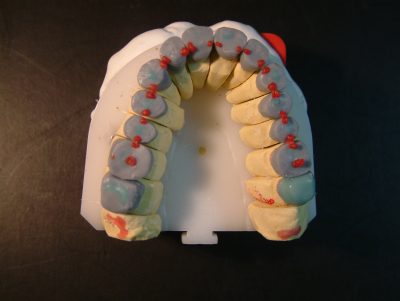
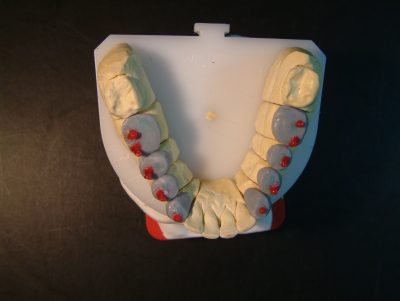
The lower cones correspond to molar and premolar buccal cusps, to the canines tips and to the incisal edges of the frontal teeth. The upper cones correspond to the central fossa of the first molars and to the marginal edges of molars, premolars, canines and incisors.
It’s very important to wax accurately the cones because it gives us immediately the idea about the morphology of the teeth we have to wax, in this way we can correct the occlusal problems, avoiding to find them out when the wax up is finished.
Correct occlusal contacts in skeletal class I
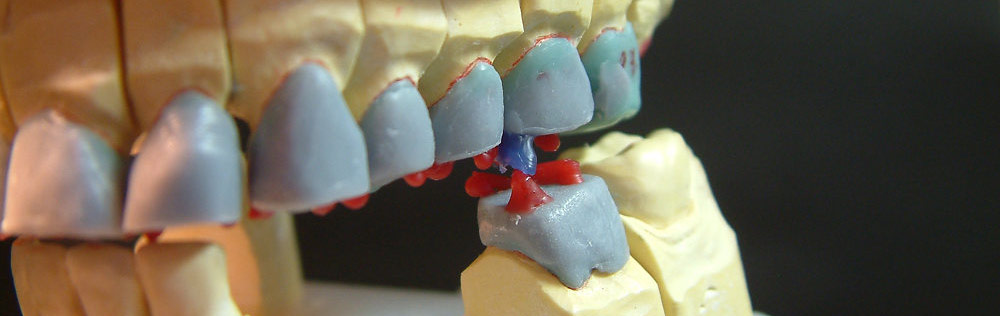
- Mesiopalatal cusp of the upper first molar in contact with the central fossa of the lower first molar; distobuccal cusp of the lower first molar (the central of the three buccal cusp) in contact with the central fossa of the upper first molar.
- Mesiobuccal cusp of the lower first molar in contact with the mesial ridge of the upper first molar and the distal ridge of the upper second premolar.
- Palatal cusp of the upper second premolar in contact with the distal fossa of the lower second premolar, the buccal cusp of the lower second premolar in contact between the mesial ridge of the upper second premolar and the distal ridge of the upper first premolar.
- alatal cusp of the upper first premolar in contact with the distal fossa of the lower first premolar, buccal cusp of the lower first premolar in contact with the mesial ridge of the upper first premolar and the distal ridge of the upper canine.
- It’s very important to check always the occlusal plane inclination during the cones wax up.


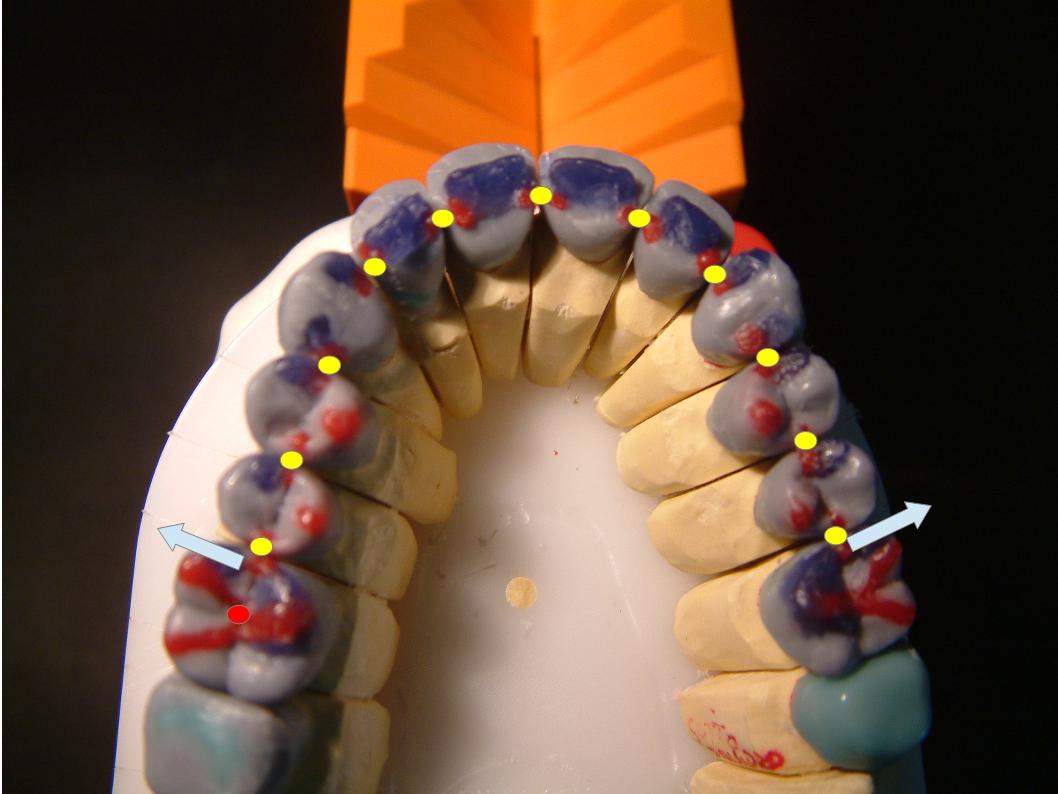
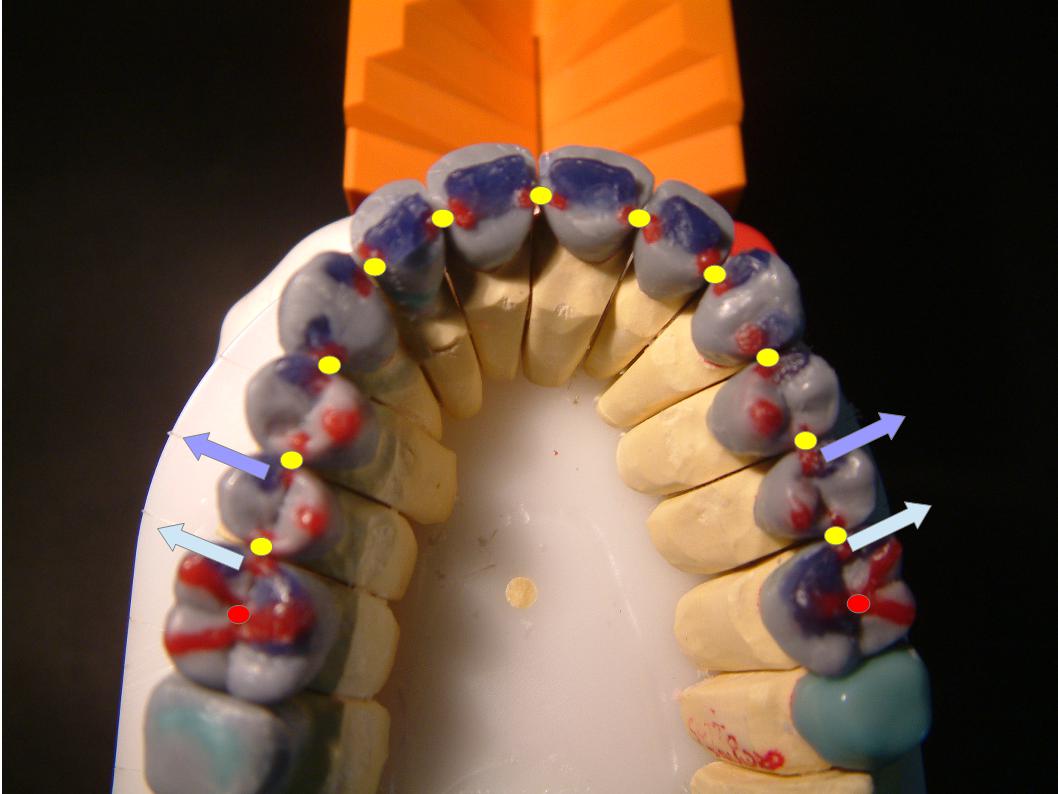
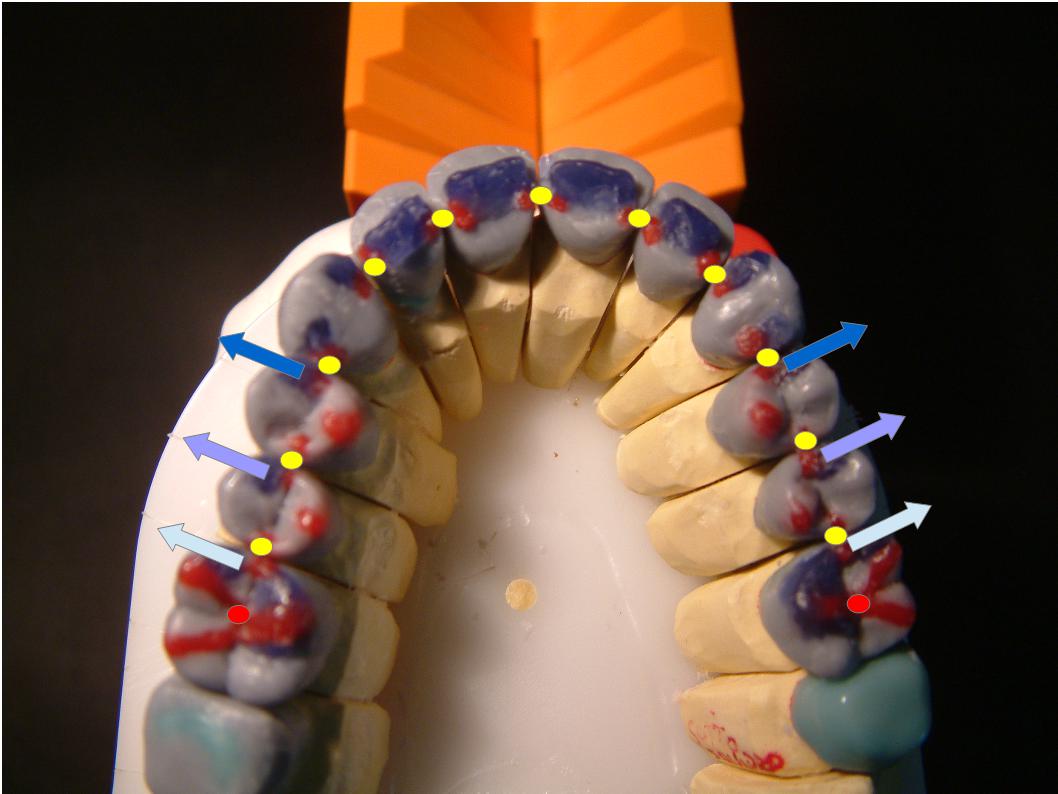
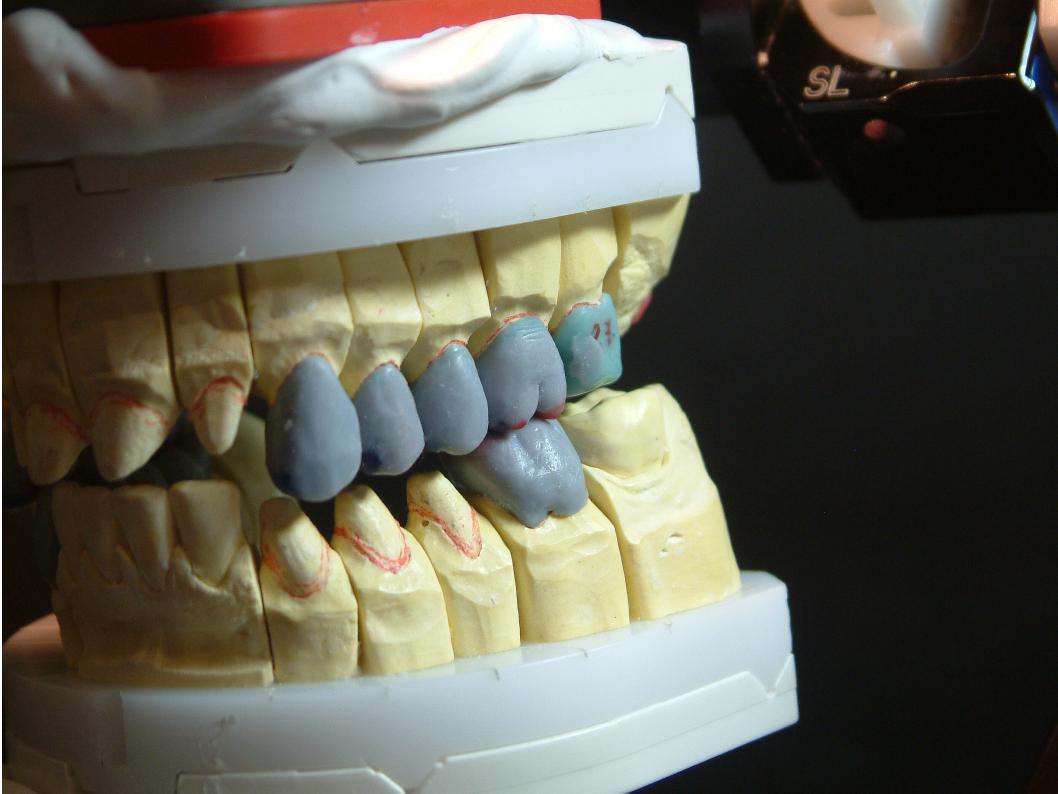
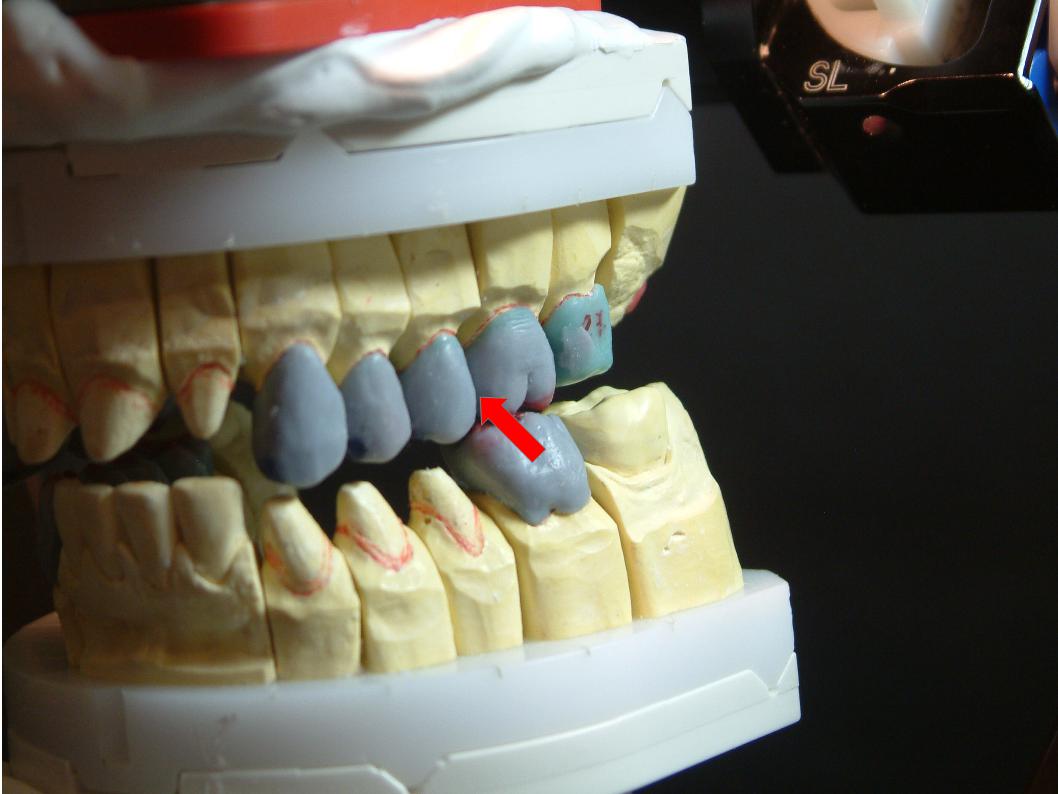
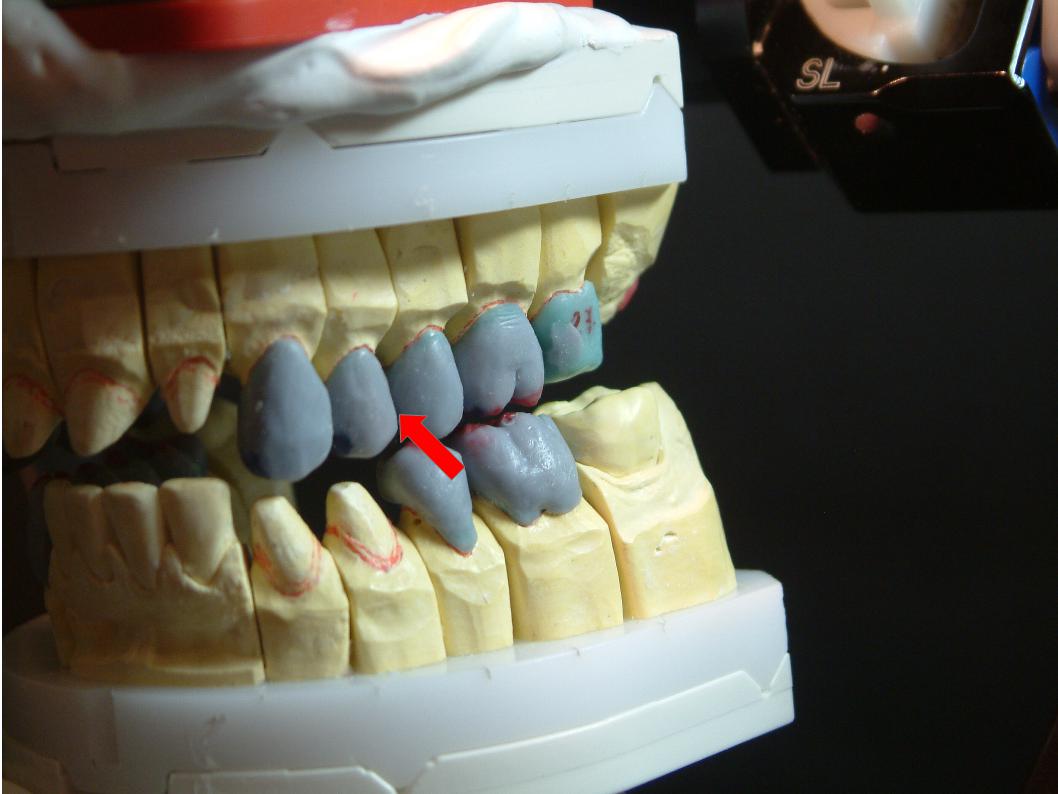
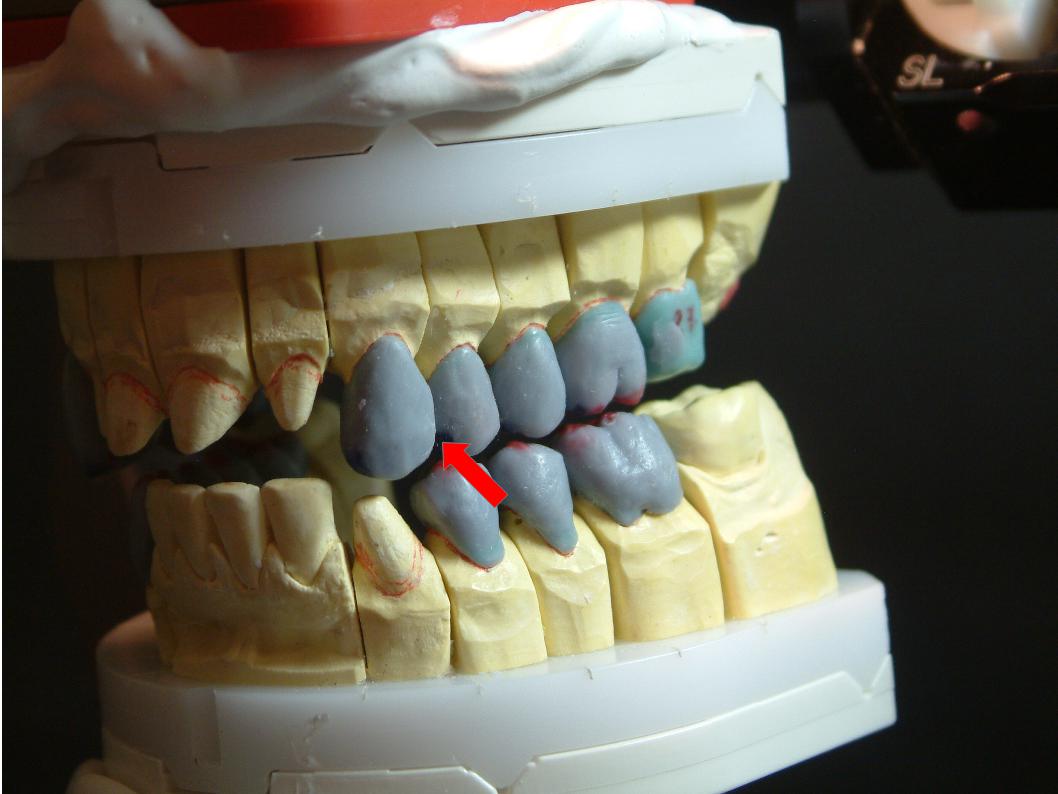
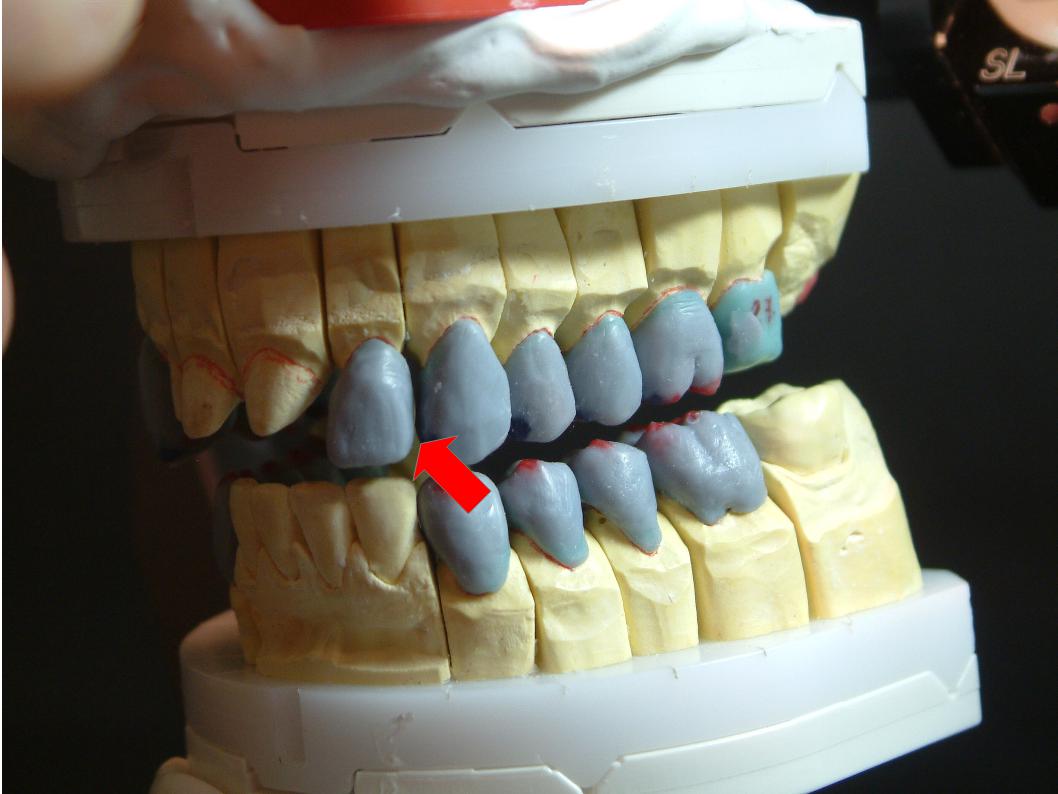
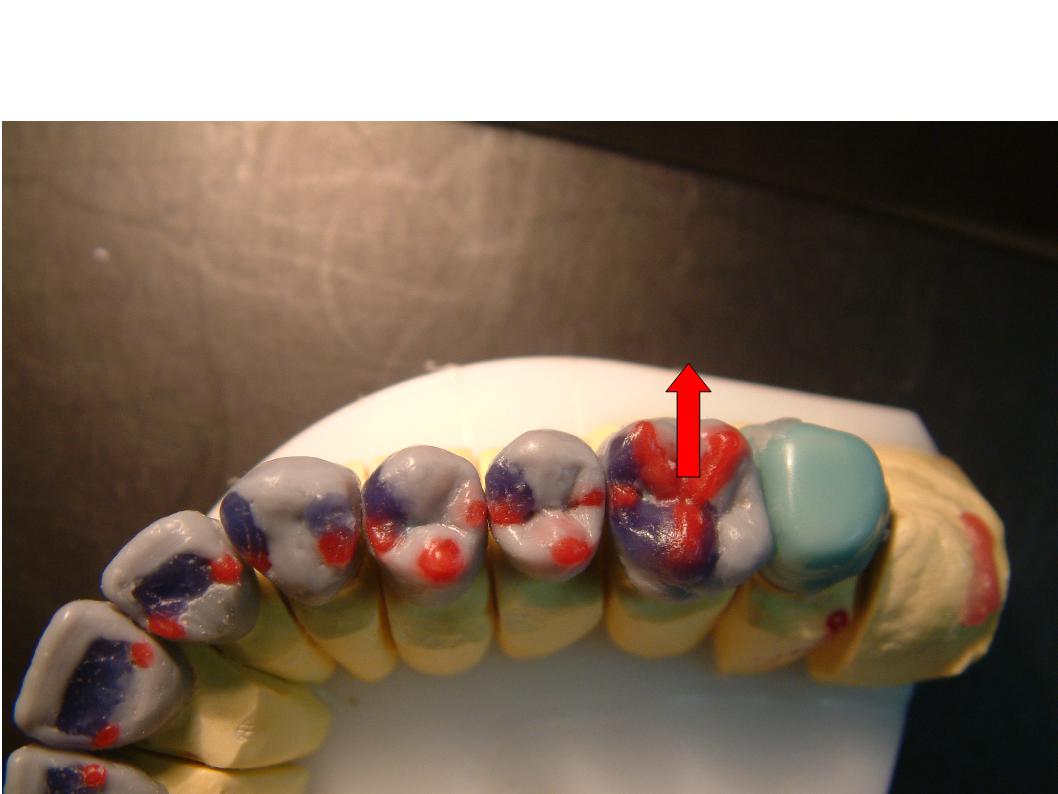
Now we can start to wax the functional sections. We start from the lower first molar: we create with a blue wax a functional guide sliding our articulator from the lateral position to highest intercuspation with the help of a protrusive insert and adjusting the individual front guidance on 6. We create therefore automatically the functional laterality guidance of the molar. After having waxed the molars, we carry on using the same technique with the second premolars, the first premolars and the canines, remembering always to adjust the front guidance on the corresponding number of the tooth we have to wax. If we realise a correct laterality the canine will work in laterality and the other teeth won’t have interferences. If we remove the canine from the model, the first premolar will guide in laterality, removing the first premolar the second premolar will work, removing the second premolar the first molar will work.


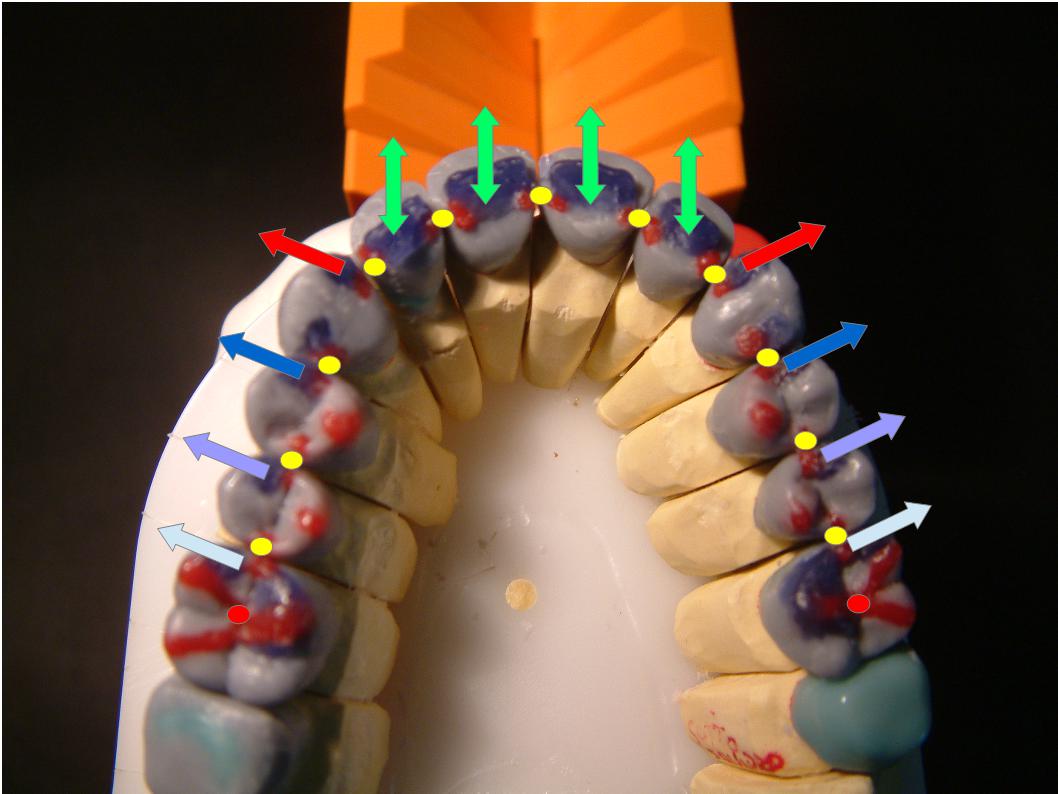
We will use the same procedure to wax the protrusive functional guides of the frontal group and the protrusive checkguide (between the distal ridge of the upper canine and the marginal mesial ridge of the lower first premolar). In all these phases we have to adjust the individual front guide on F letter. The blue arrows show the protrusive position check guide of the front teeth, the red arrows show the protrusive check guide of the canines. Later we will wax the aesthetic sector (incisal edge) of the frontal group.


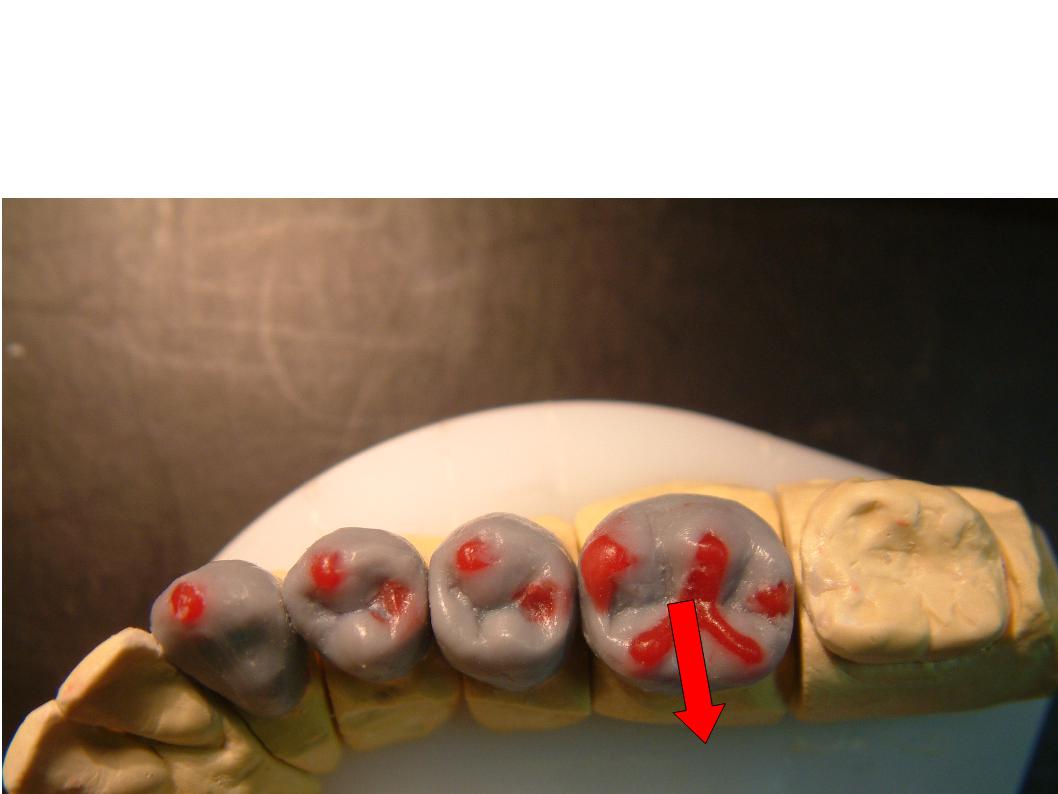
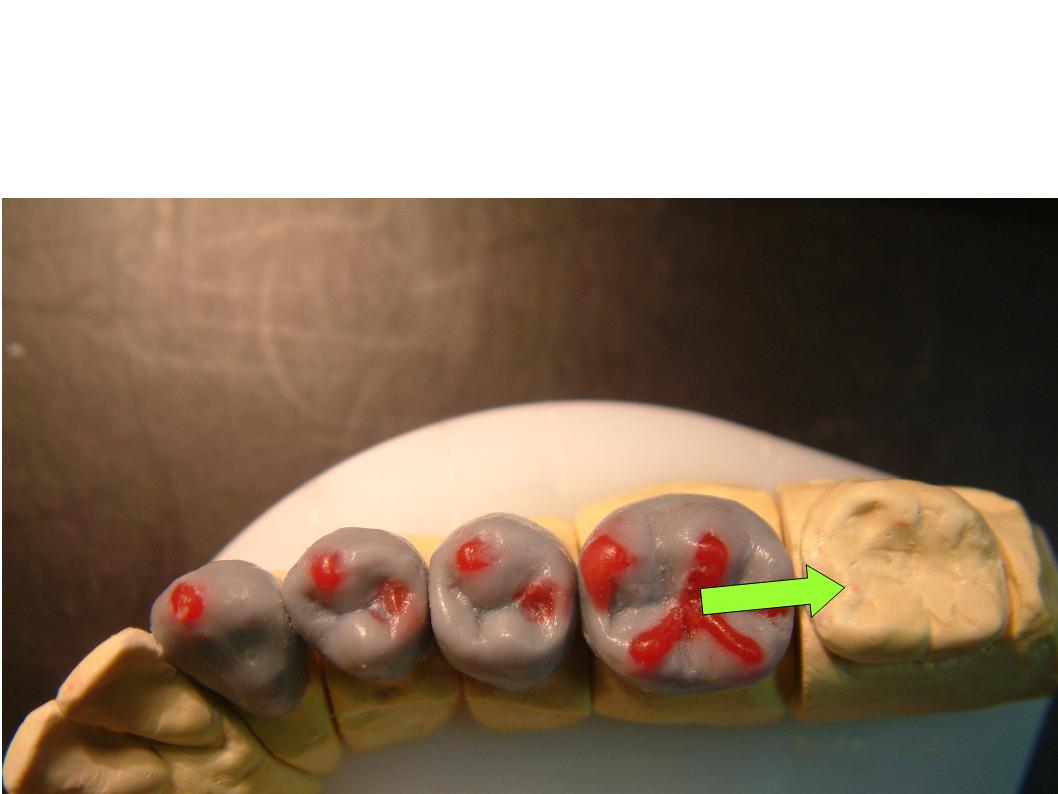
Here on the side we can see in the video how the functional parts work: the blue arrows, with a getting stronger colour, show the sequentiality (the darker colour dominates the lighter colour) that ends with the red arrow (pure canine guide) in laterality movements. In protrusive position we see the green arrows that show the protrusive path of front teeth, while the red arrow shows the checking path of the canine protrusive position. The yellow dots show the passive centric arch, the red ones show the molars central fossae.


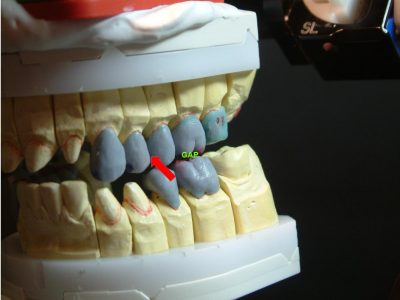
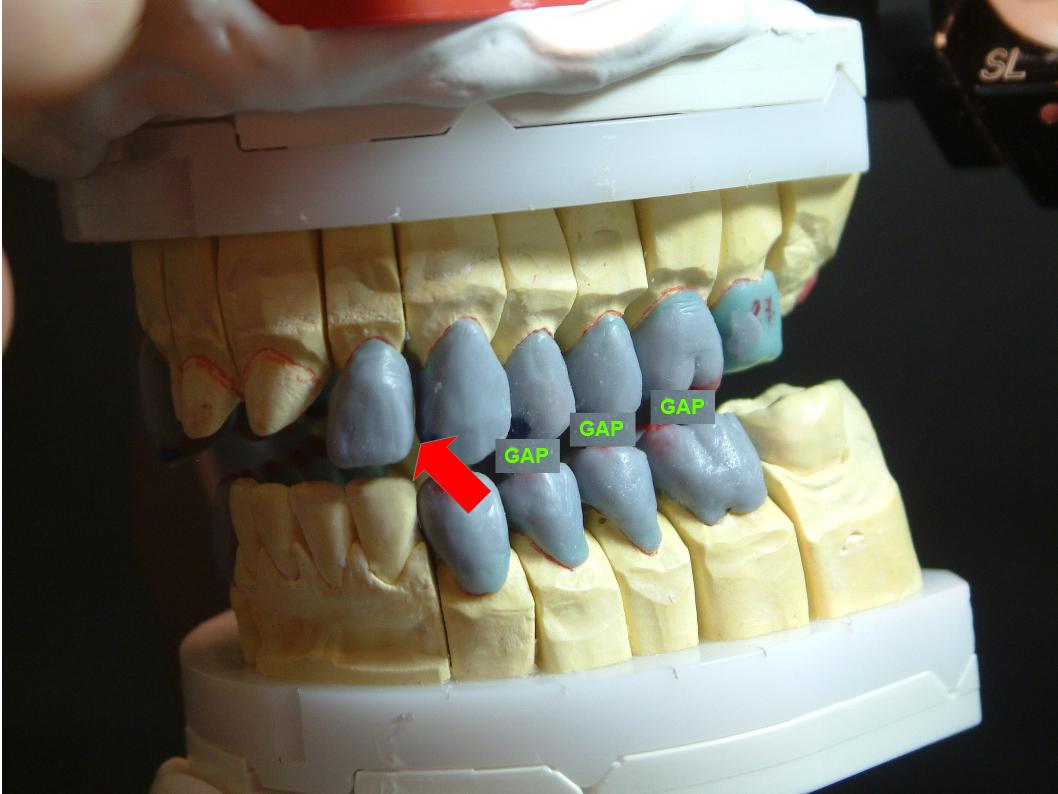
Here on the side (video) we can see how the waxed teeth work in laterality movements. We notice that while we gradually add an element, the previous element doesn’t work anymore (GAP). We create in this way a pure canine guide where the elements do not come into contact and they don’t create interferences.


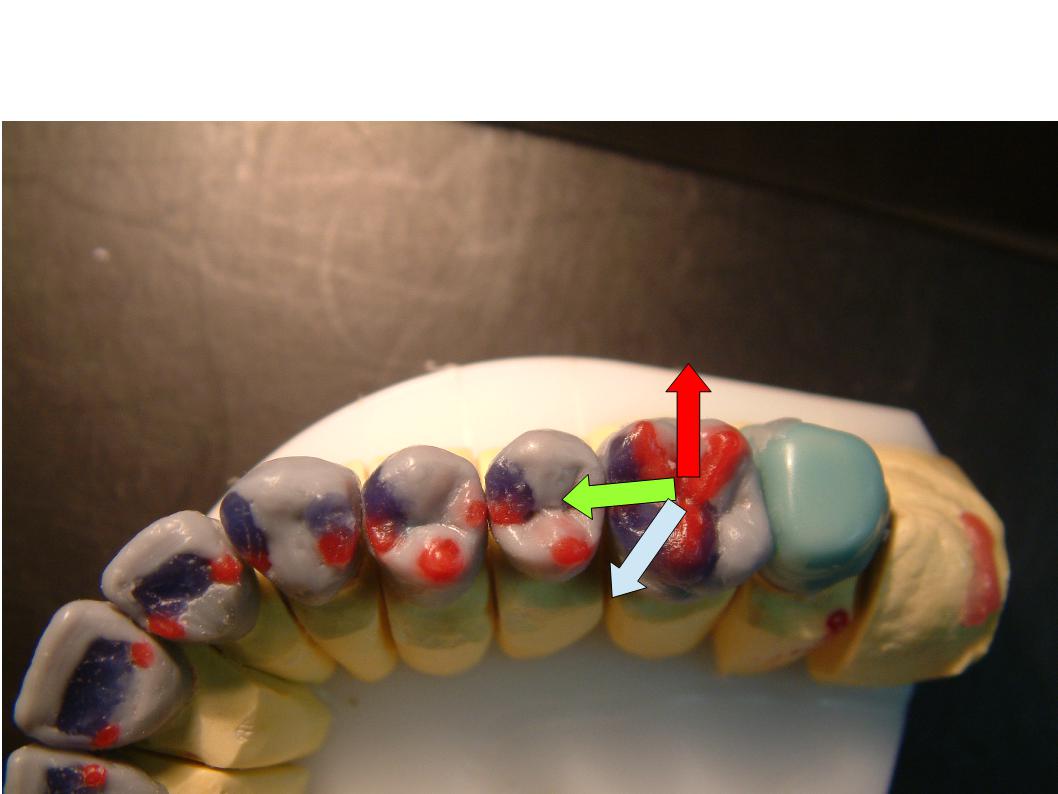
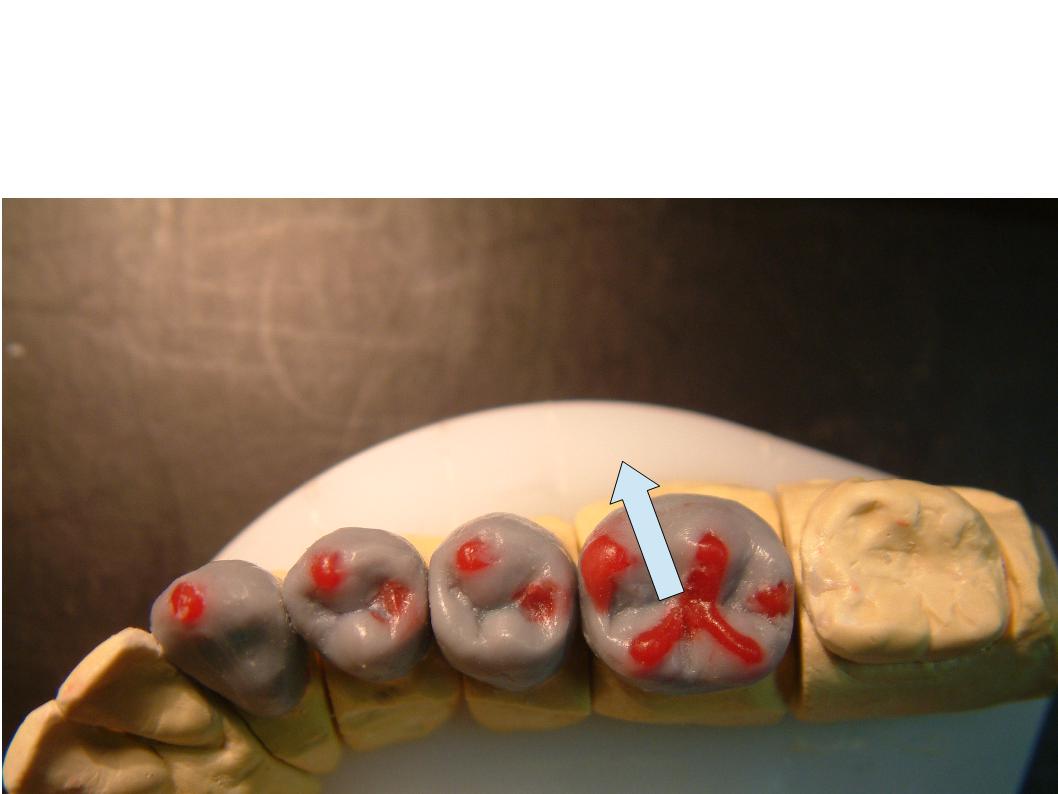
Here on the side we can see the path that the mesiobuccal cusp of the lower first molar executes in relation to its antagonist.
RED ARROW: laterality path
GREEN ARROW: protrusive path
LIGHT BLUE ARROW: mediotrusion path


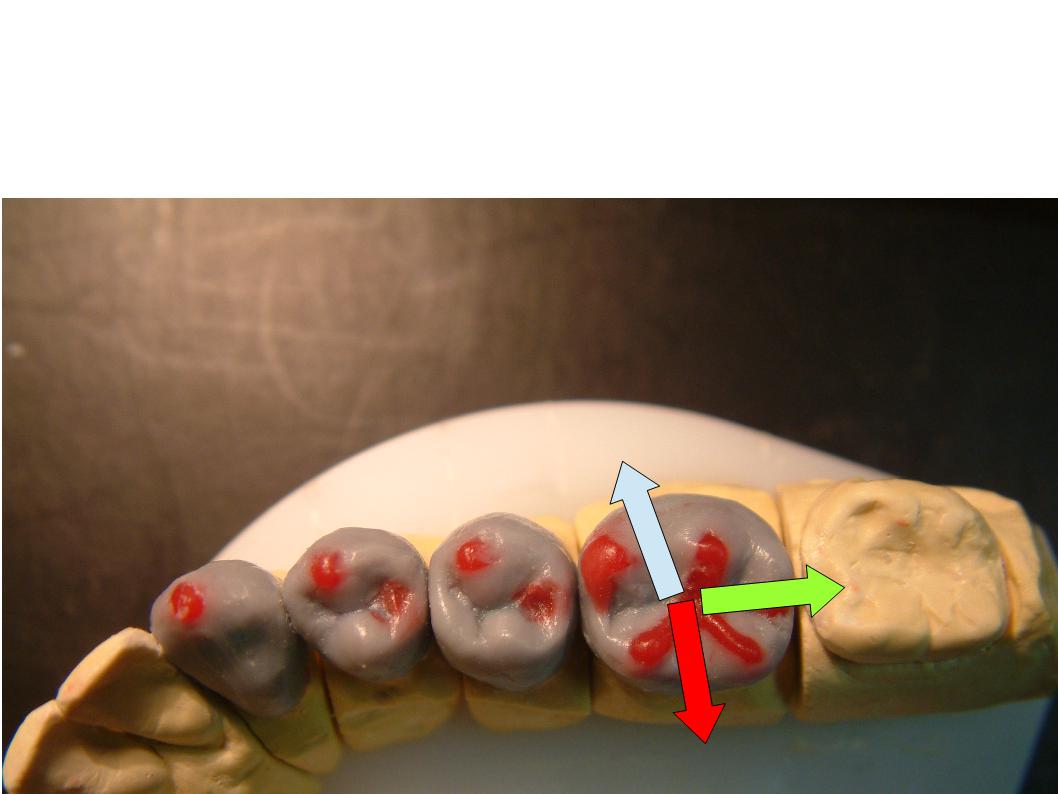
Here on the side we can see the path that the mesiopalatal cusp of the upper first molar executes in relation to its antagonist.
RED ARROW: laterality path
GREEN ARROW: protrusive path
LIGHT BLUE ARROW: mediotrusion path
CONCLUSIONS
Planning our works with the sequential wax up following the patient’s individual values is the ideal solution to achieve excellent results from a functional and morphological point of view. This is in the interest of the patient who will be sure to use in time the prosthetic product without losing chewing efficiency and functionality. In fact respecting the individual functional paths allows us removing the product interferences in the patient’s mouth during the different life phases, avoiding fracture risks or other complaints. Nowadays the new technologies and materials allow us duplicating accurately our plan.