

Protocol for the realisation of the total removable prosthesis according to professor R. Slavicek’s method.
After having stabilised the patient at articular level with a verticalisation bite as pre-therapy, we can start to realise our prosthesis, here below all the steps for the realisation.
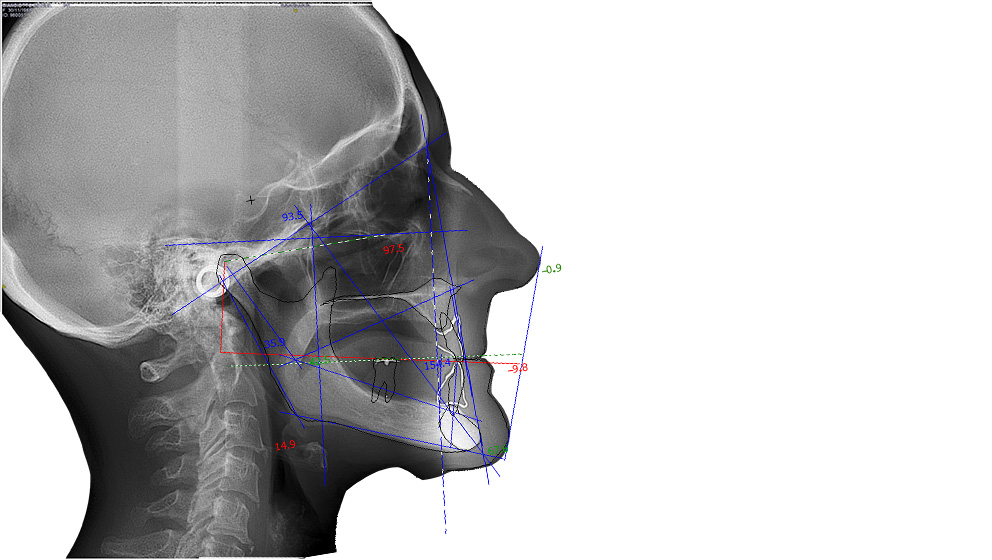
The cephalometric tracing helps us to determine a correct vertical dimension, a right occlusal plane inclination and a correct position of the lower incisor (see fig.1).
Fig. 1
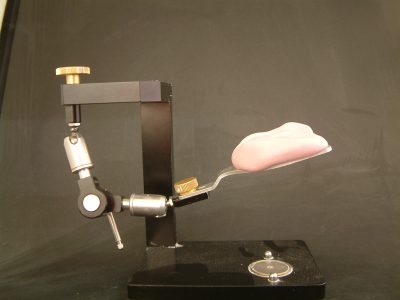
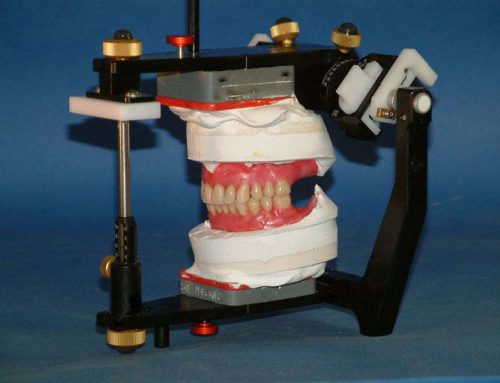
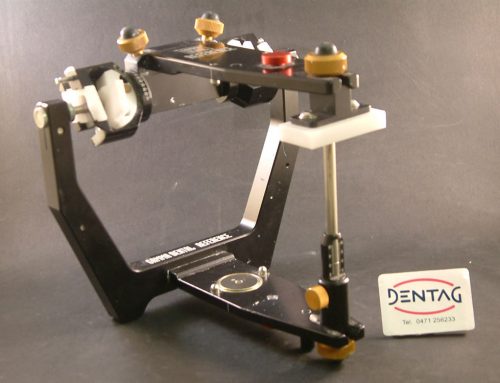
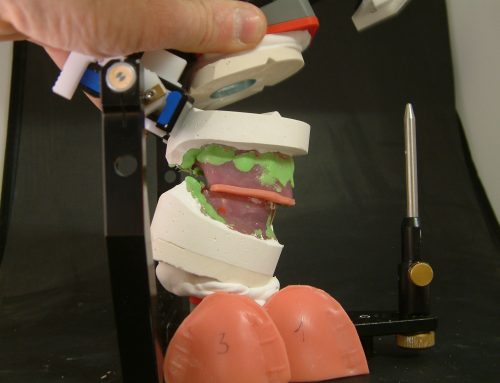
We assemble the basic models on articulator for the realisation of the bite rims using face-bow and block in silicone (see fig.).
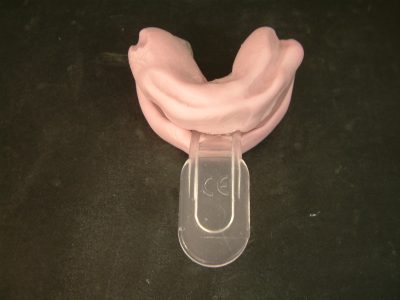
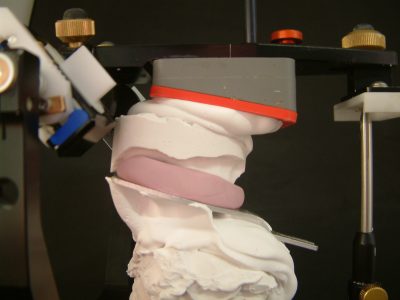

Once assembled the models in the correct position, we can realise the bite rims following the directions obtained with the cephalometric tracing (see fig.).

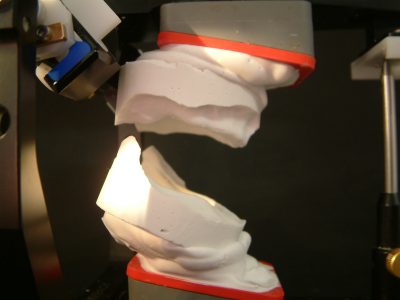
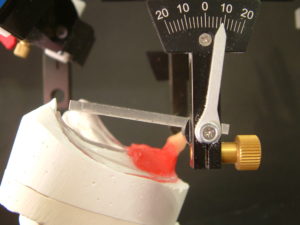
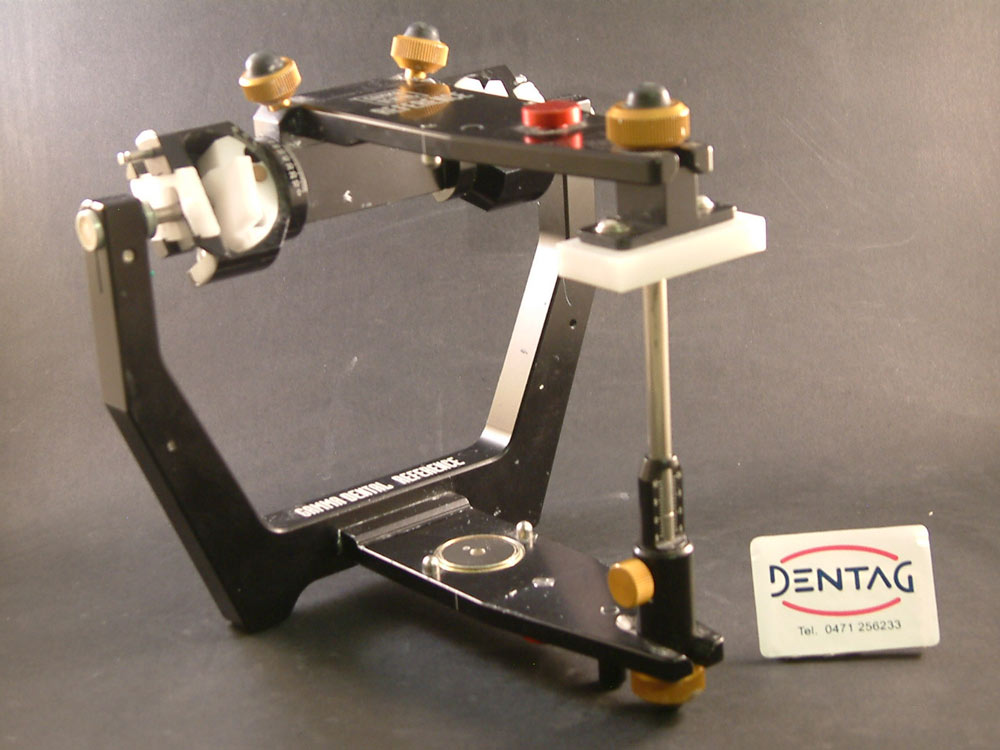
to check the correct position between the upper and the lower maxillary (see fig.). After having verified with the three waxes technique the correct position between the upper and the lower model, we can start the teeth assembly setting our articulator with the help of CPM and protrusive wax. We start to assemble the lower front incisors with the correct inclination (90° in relation to the interincisal axis in class I), following the bite rim directions obtained with the cephalometric tracing (see fig.). We assemble the upper incisors with the help of the articulator protrusive inserts (see instructions Reference SL) in order to create the overbite and the overjet and the correct interincisal angle (see fig.). After having positioned the incisors with the help of the articulator insert so to determine
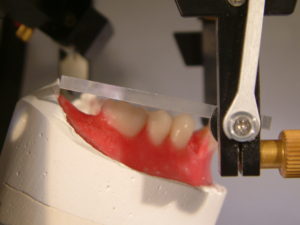
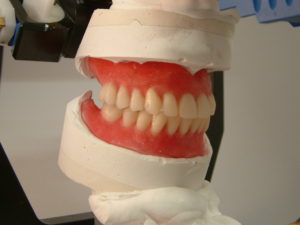
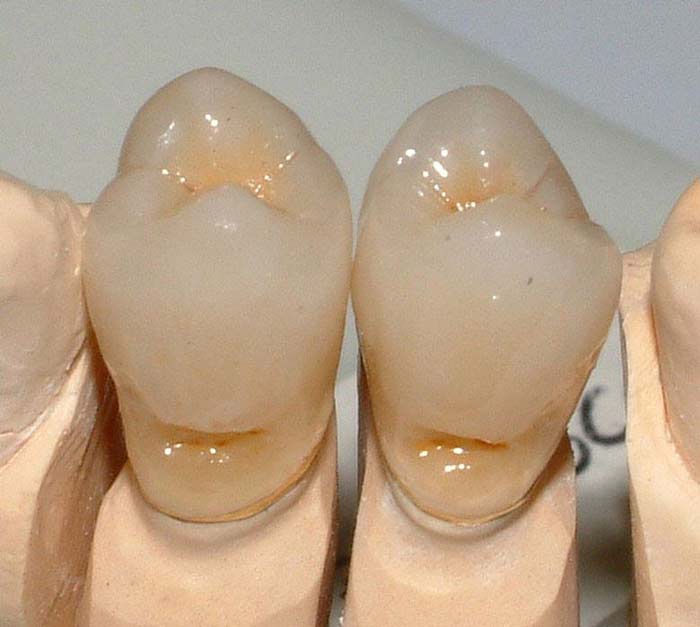
the occlusal plane correct inclination, we start to assemble the lower arch observing the right distances of the occlusal plane cusps, the curve of Spee and Wilson. Carrying on with the assembly of the upper arch we end the work observing the correct occlusal contacts.
* For further information see the article about the total prosthesis or click on Courses.