


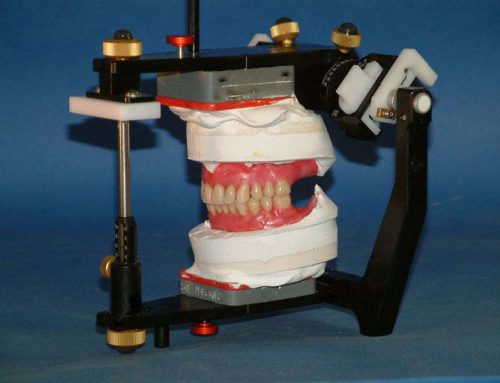
Reference SL articulator
FOREWORD
We have to do prosthetic reconstructions and rehabilitations with the help of the face-bow and the connected articulator. Unfortunately there are still today many dental practices and dental laboratories who don’t consider the importance of this tool. This space is dedicated to all those who already use the articulator, but especially to those who don’t use it, hoping that I succeed in arousing interest in this very useful tool. I will talk especially about Reference SL articulator, that I use since 2001 and that I consider an excellent articulator.
The Reference SL articulator combines the safety of the guidance on the horizontal plane typical of the Non-Arcon articulator with the didactic and geometrical-dynamic advantages of the Arcon system: in fact we can easily see what happens in the condylar boxes and check directly the contact with the guidance elements. It’s a safe and practical articulator that allows working with patient’s average values or adapting it to patient’s individual values thanks to the programming set of the single condylar housings.
The first part is dedicated to the knowledge of this instrument.
Part one: operating instructions of Reference SL articulator
Part one: operating instructions of Reference SL articulator

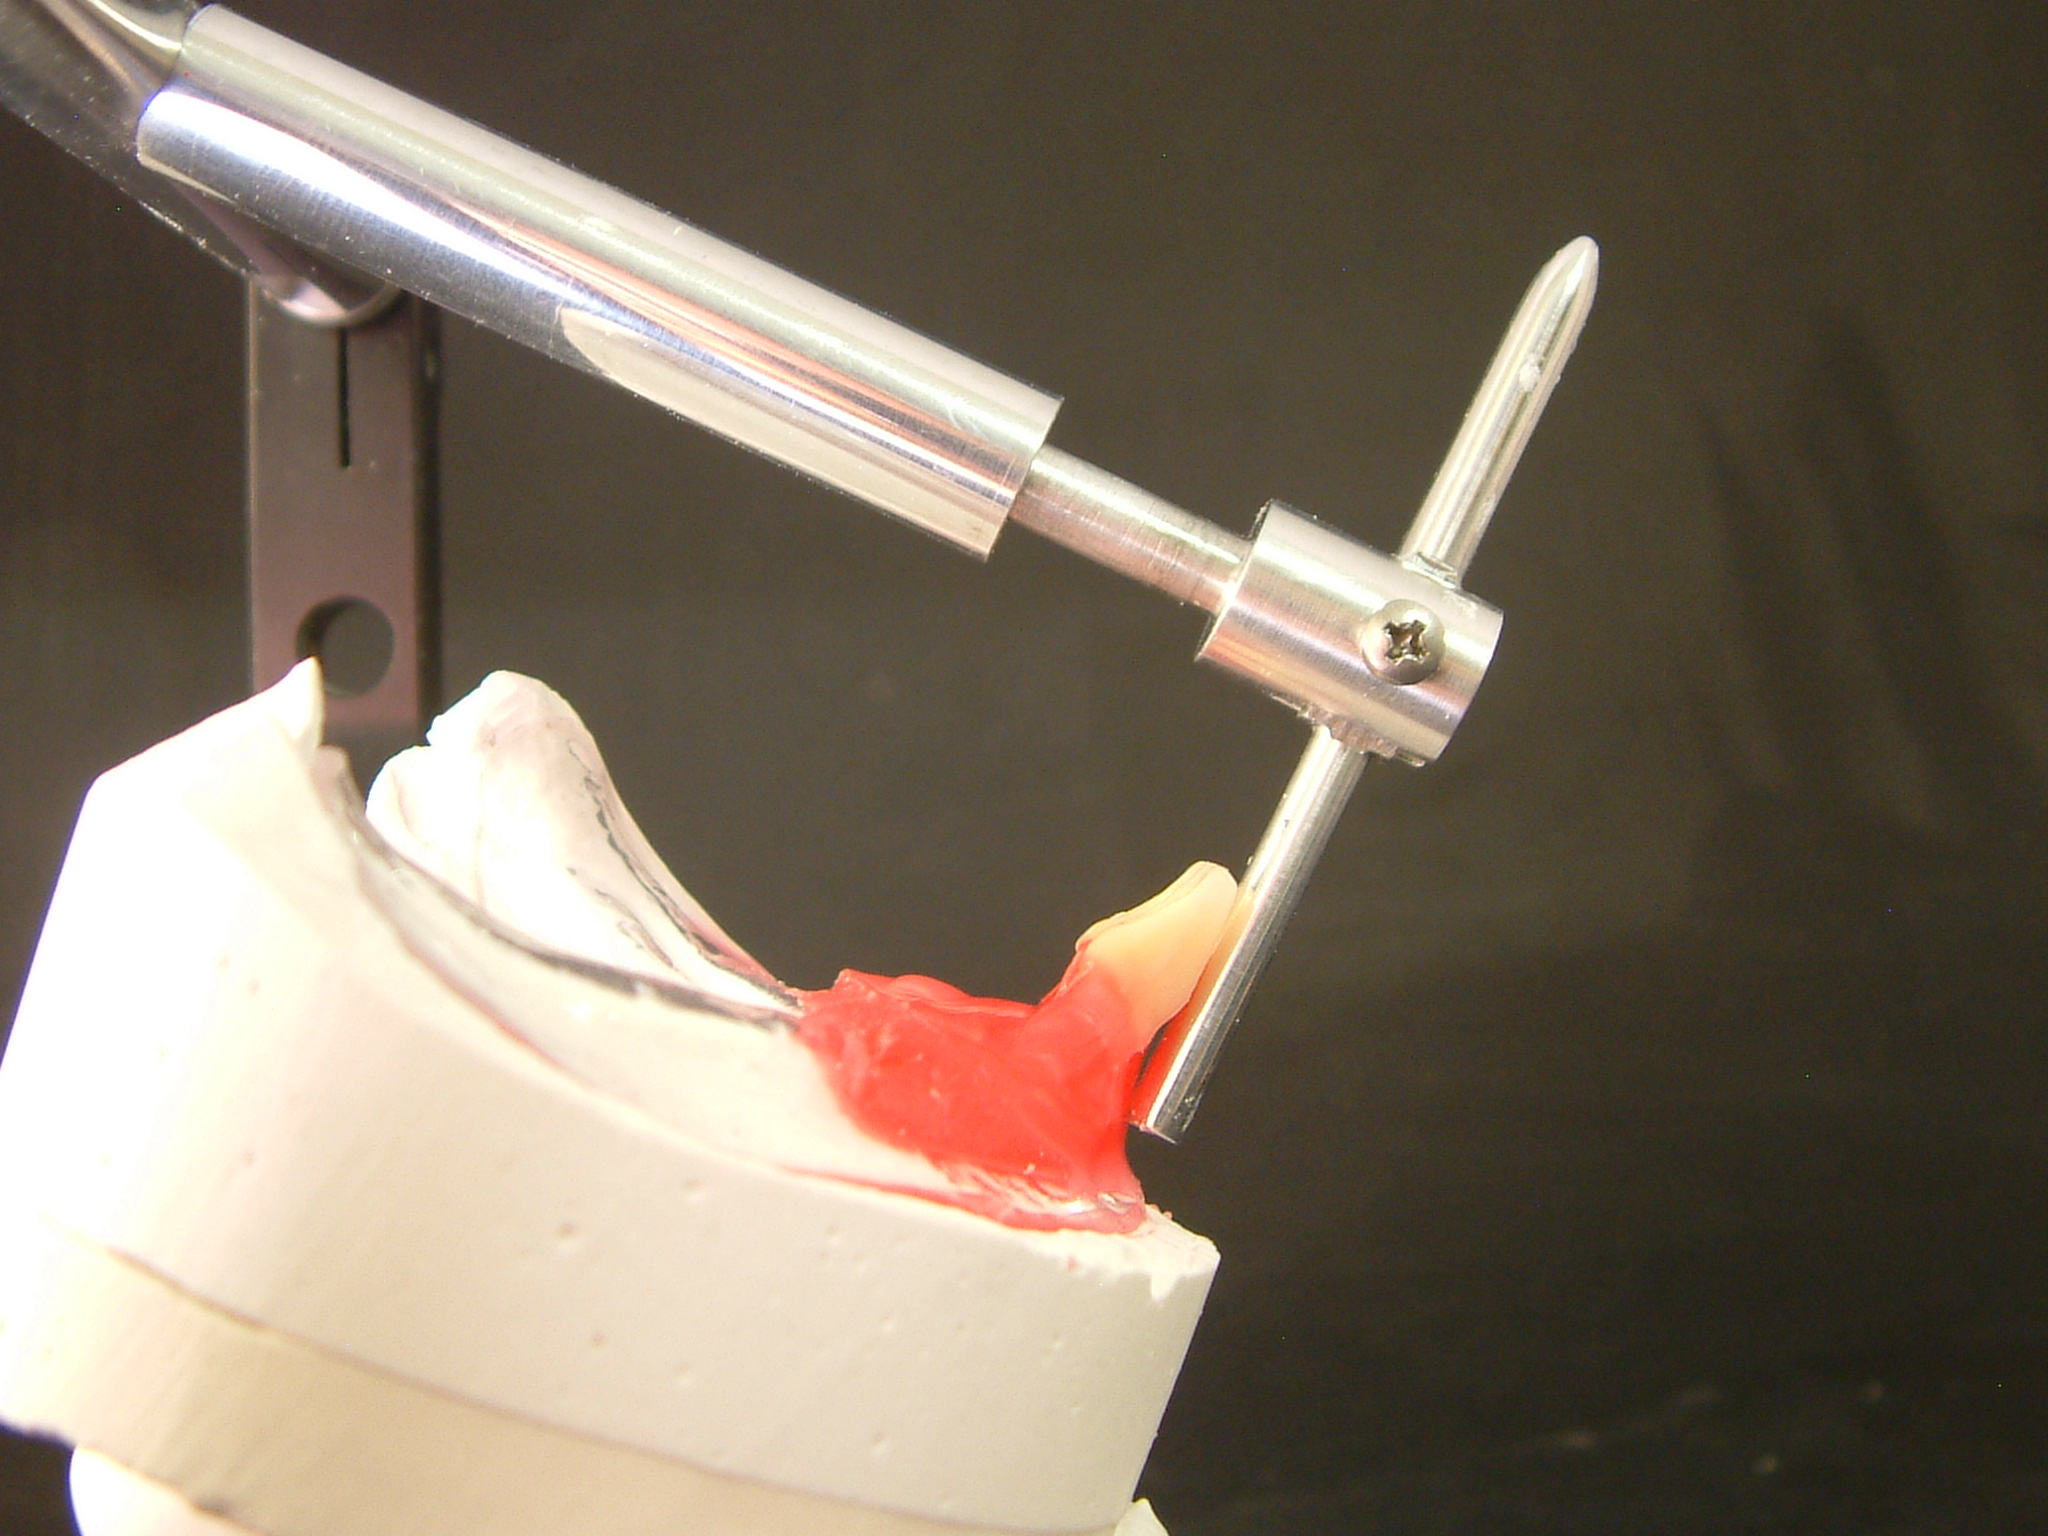
Fig. 1
The reference SL articulator is made up of:
-
– an upper and lower frame
-
– an incisal rod with a scale divided into millimetres (fig. 1); when it is set at ZERO, the upper and the lower frame are parallel (ideal position to use the articulator) (fig. 2).

Fig. 2

Fig. 3
For models plastering we are equipped with six grey bases with different thickness: three horizontal (1, 2, 3) and three slanted (a, b, c) (fig. 3).
")
Fig. 4
These bases are fixed on the articulator through a magnetic plate (fig. 4) and we will minimize the amount of plaster thanks to their thickness, reducing in this way material retraction risks (fig. 5-6).

Fig. 5

Fig. 6

Fig. 7
These bases are even provided with a pin that allows easily removing the bases (fig. 7).

Fig. 8
Before locking the model, we have to screw a red net on the grey base (fig. 8). A letter or a number are printed on this latter specifying the grey base we have used (fig.9). In this way the models will be classified and usable in time.

Fig. 9

Fig. 10
We have to unlock the condylar housing in order to do lateral and protrusive movements by moving the white slide located besides the housing itself (fig. 10).
Adjustment of the condylar housings and incisal guidance (individual values setup)

Fig. 11
The condylar housings of Reference SL articulator are equipped with two graduated scales. One is used for the inclination of the condylar housings and the other for the Bennet angle (fig. 11). It will be very easy to setup the Reference SL articulator with individual values thanks to a very intuitive image, obtained from an axiographic test (fig. 12).

Fig. 12

Fig. 13
We can adjust the inclination of the condylar housing only unscrewing the big screw that is positioned on it (fig. 13).
We can adjust Bennet angle unscrewing the little brass-plated screw that is behind the condylar housing (fig. 14).

Fig. 14

Fig. 15
Besides inserts, which simulate the eminence shape, are lodged in the condylar housings. Different colours characterize them (white, black, blue, red and yellow) and we can substitute them through a light pressure. (fig.15-15bis )
The software gives indications about the specific colour to use.

Fig. 15 bis

Fig. 16
We can apply the same procedure to the inserts for the angle of Bennet (fig. 16-16bis).

Fig. 16 bis

Fig. 17
We can before substitute the standard small plate of the incisal rod (Fig.17), supplied with the articulator, with an individualised incisal guidance, composed of different coloured inserts, given by the software. (fig.18)

Fig. 18

Fig. 19
This incisal guidance is sliding; every number corresponds to a tooth (fig. 19):
-
F= frontal
-
3= canine
-
4= first premolar
-
5= second premolar
-
6= first molar
If you set up the sliding guidance on number 3, you will check the canine guidance, if it is on number 4, you will check the functional guidance of the first premolar, and so on…
You need the letter F to check the protrusive movement.

Fig. 20
If we haven’t individual values for the articulator setup, it is advisable to use the blue inserts for the condylar inclination, the white ones for Bennet angle, and at the end to adjust the condylar housing inclination at 40° and Bennet angle at the 6° (fig. 20).
Accessories

Fig. A
Insert for the evaluation of the occlusal plane inclination. Very useful for the realisation of removable and fixed prosthesis and wax up (fig. A).

Fig. B
Support for plastering of lower model: it arranges the articulator in the ideal position for the model plastering (fig. B).

Fig. C
Little bench useful to fix and transfer the bite fork of the face-bow on the articulator (fig. C-D).

Fig. D

Fig. E
Protrusive inserts (from 5 to 10 mm): useful for the realisation of the functional guides in the wax up and the realisation of prosthesis, bites and orthodontic braces in therapeutic position (fig. E, F, G).

Fig. F

Fig. G

Fig. G
Full box with protrusive and bennet inserts and condylar housings (fig. H).
