


Total removable prosthesis following professor R. Slavicek’s technique
Taken from “Appassionarsi alla protesi totale” (“Be keen on total prosthesis”) by Maurizio Melano, published on the international magazine about dental technology DENTAL DIALOGUE(Year XIII N. 8/2006).
Why did i choose and why choose professor rudolf slavicek’s technique
FOREWORD
I attended courses, followed conferences and debates about total removable prosthesis for several years, I improved different methods, but they all left me dissatisfied. I couldn’t get satisfactory answers to basic questions, such as to determine a correct vertical dimension or where to position accurately the teeth in order to give the prosthesis functionality and stability. The answers that I met are always the same and purely empirical: “it’s necessary to rely on the aesthetic point of view and on the dental clinician’s or technician’s experience…”. The courses ended always with marvellous aesthetic products, natural characterized flanges, but the question was always the same: does the prosthesis work? Does the patient chew? And first of all, does he adapt himself to the prosthesis?
inally in 2001 I knew the method developed by Professor R. Slavicek and a world opened up to me. My questions found sure answers and I began to be keen on the removable prosthesis and to see it no more as ordinary “dentures”, but as a real total prosthetic rehabilitation. In fact this method revolves mainly around a basic element that gives the opportunity to establish the more correct vertical dimension for that particular patient, the correct teeth position and the more adequate occlusal plane given case-by-case (decisive values for the success of a total prosthesis) I’m talking about the “Cephalometric tracing“, test that allows the dental technician establishing this values in relation to clinical data and transfer them to the dental technician so that this latter can build on articulator a prosthesis based on sure values and no more on empirical or purely artistic values!
We have even to say that obviously we must connect the method to a careful diagnosis of the clinician in order to start the work on a patient, who is not dysfunctional and first of all he has to be stable upstream at articular and therefore occlusal level.
I show a case in order to clearly explain the realisation of a prosthesis with this method.
A case
The patient, on which we built the prosthesis, was before stabilised from the occlusal point of view through a verticalisation splint (sandwich splint) that was built on his old readapted and relined prosthesis. The technique considers clinical data for the realisation of a prosthesis, therefore we have always to start from a lateral x-ray in order to plan a cephalometric tracing from which we obtain:
– vertical dimension
– lower incisors height and inclination (and consequently all the other teeth position)
– the overjet and the overbite
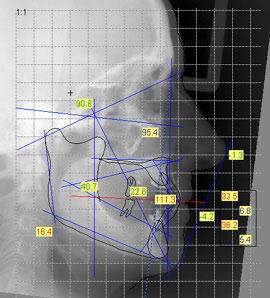
Figure 1
The first step provides for latero-lateral x-ray of the head with the temporary prosthesis or the old prosthesis, readapted with verticalisation bite, in the mouth. In both of them it’s important that the patient has a good occlusal stability.
The clinician will develop from this x-ray the cephalometric tracing determining the changes we have to make to the vertical dimension, the position and the inclination of the lower and consequently upper incisors, the occlusal plane inclination in relation to the axis-orbital plane and the lower first molar position.
A prosthesis in class I needs a 90° inclination of the lower incisors in relation to the intercondylar axis, and the occlusal plane must vary from 10 to 12 degrees of inclination in relation to the axis-orbital plane and it can never exceed the XIpoint. The upper incisors will form a 132° angle in relation to the lower incisors. We obtain all these data from the tracing, doing a real plan that will give the technician the chance to realise a functional and aesthetic prosthesis transferring the “plan” on articulator.
Referring to the considered clinical case, the data received from the dental practice are the following: – lower incisor inclination 88° – lower incisor height 15 mm – occlusal plane inclination 10° – overbite e overjet 1 mm
With these data we can start to build the resin bite rims that will also function as individual impression tray.
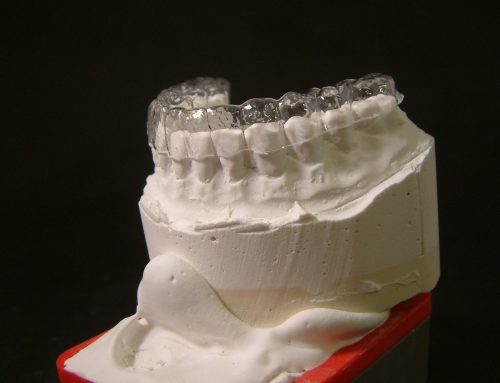
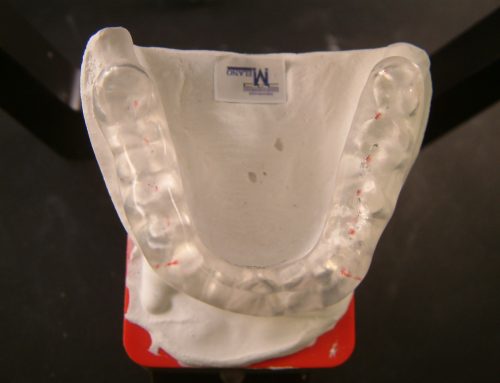
Once developed the basic models, they will assembled them on articulator using a silicon block (fig. 2), so that we obtain a first occlusal registration that is very close to the vertical dimension we have to use. This silicon block is realised incorporating the bite fork of the face-bow (fig. 3) and taking impression of the two arches.
We will get two base models assembled on articulator and correctly positioned in the space through the use of the face-bow.
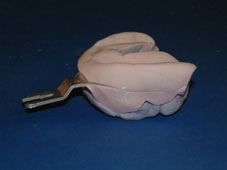
Fig. 2
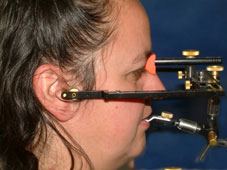
Fig. 3
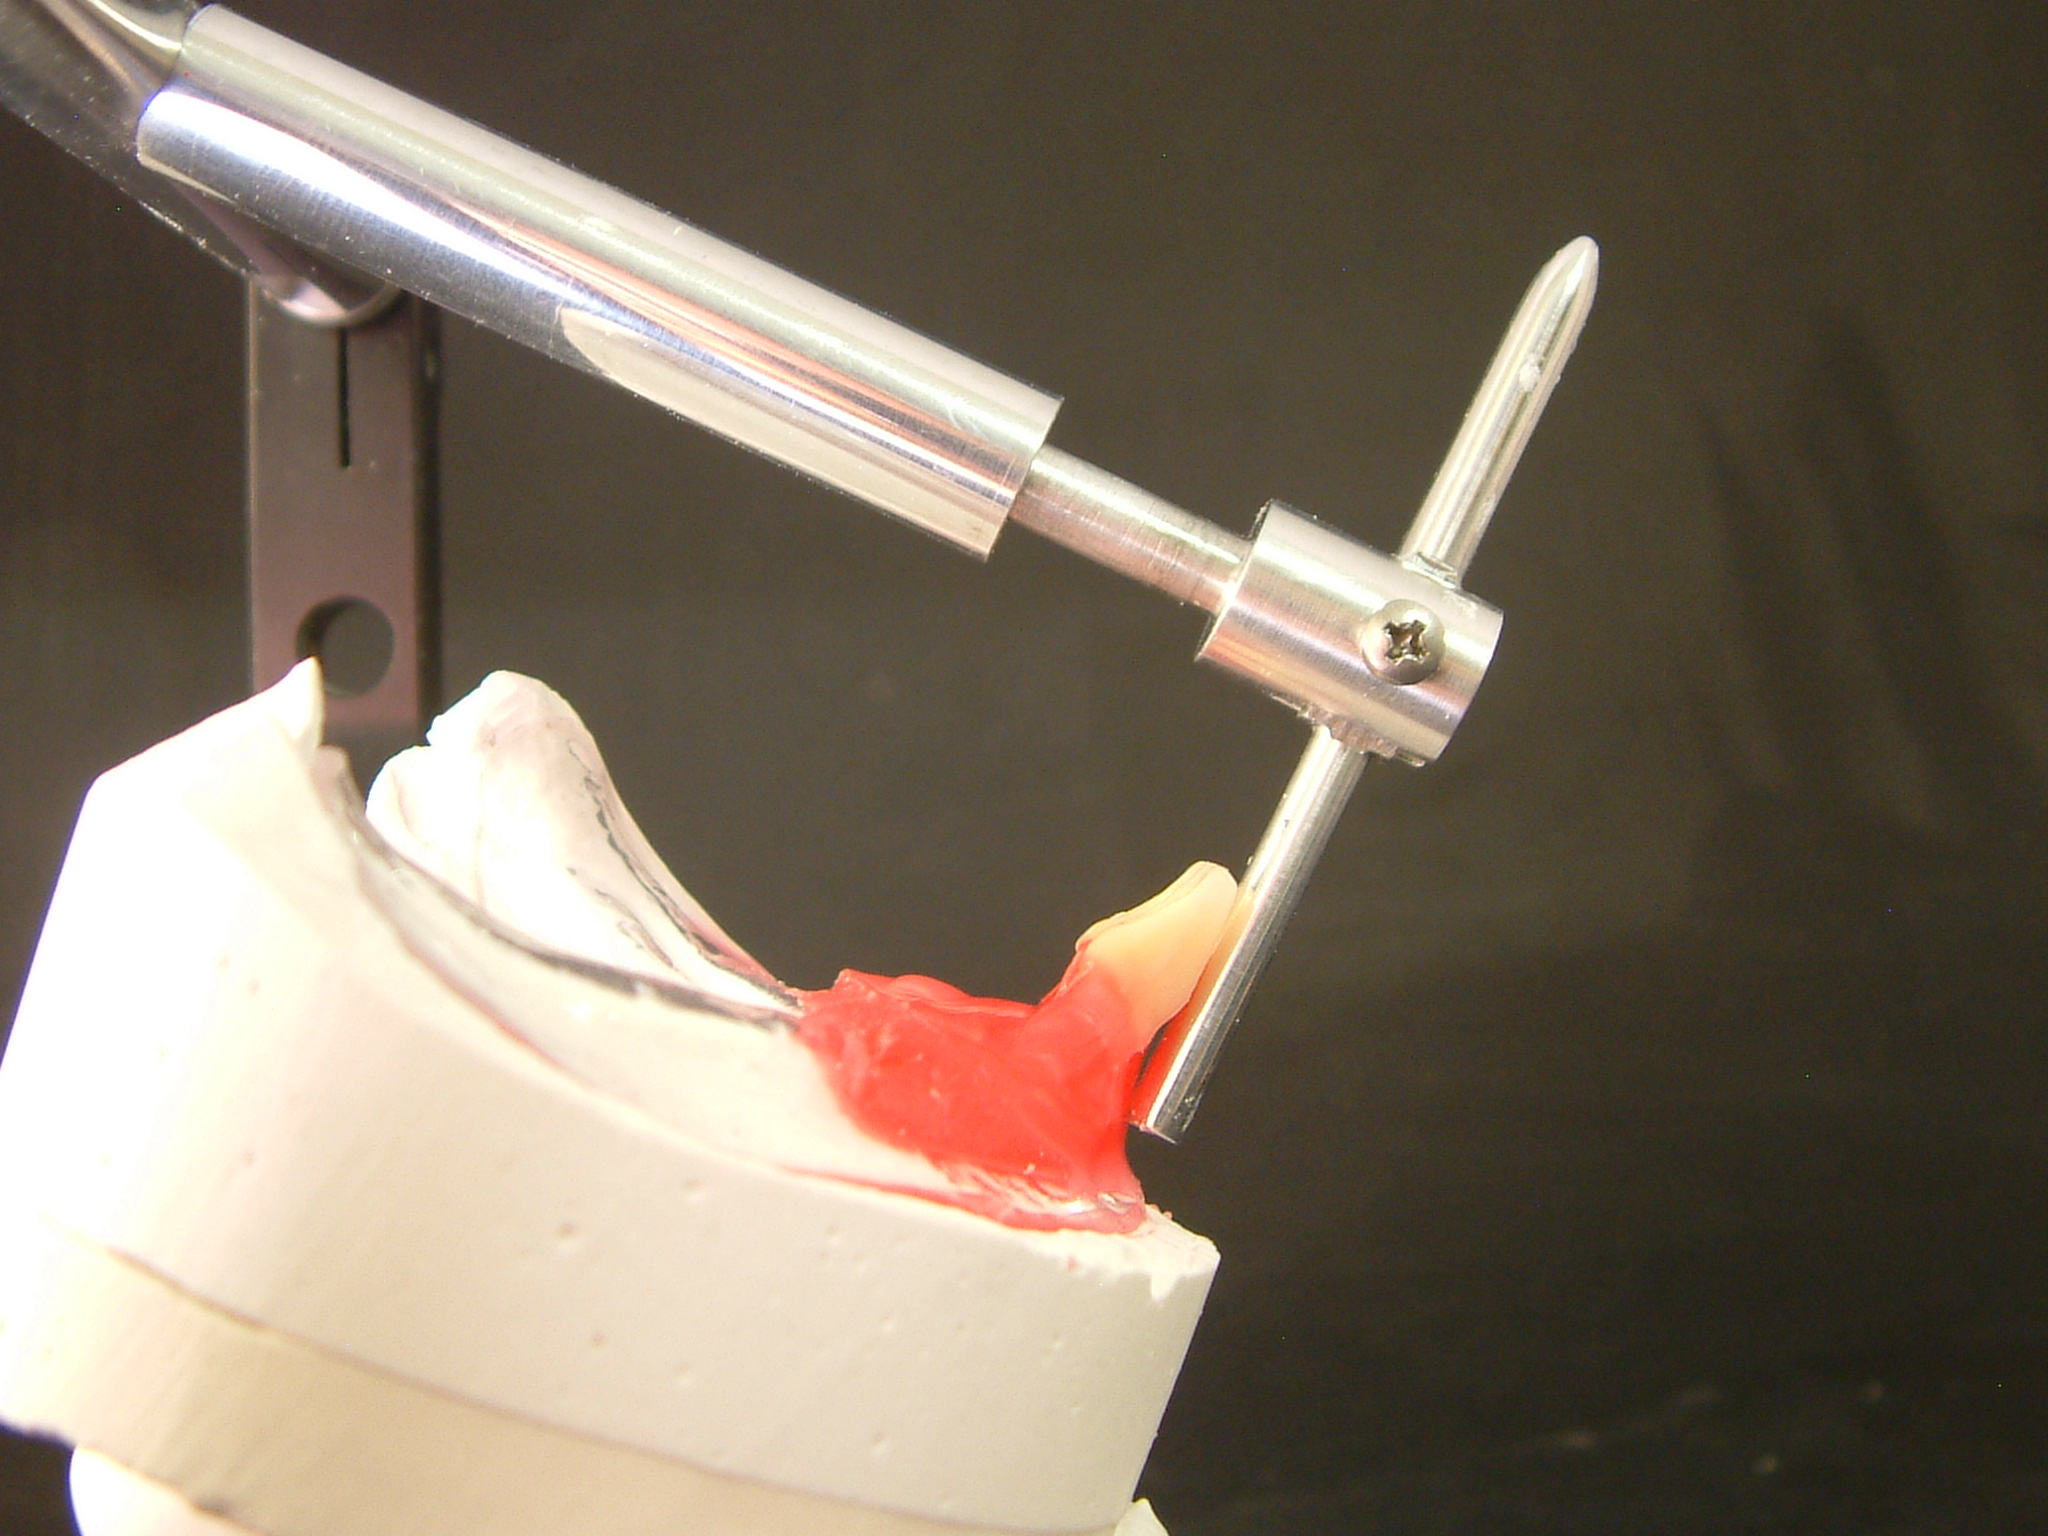
With the models on articulator (fig. 4-5-6-7) and with the help of a specific insert to determine the occlusal planeinclination (fig.8), we realise the lower bite rim, which should respect the values communicated to the laboratory (fig.9).
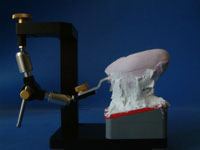
Fig. 4
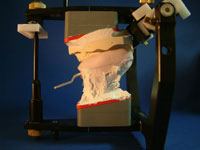
Fig. 5
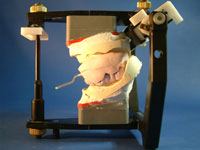
Fig. 6
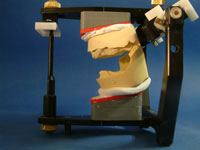
Fig. 7
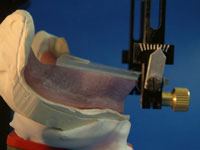
Fig. 8
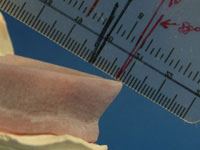
Fig. 9
Later we realise the upper bite rim (fig.10), we will get two bite rims that will correspond to the cephalometric tracing values and help us with a first aesthetic and phonetic evaluation.
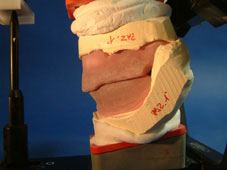
Fig.10
Following the position and the profile that the teeth will have, we can evaluate with bite rims the aesthetic side and note down the necessary information on the same rims (fig.11).

Fig. 11
The bite rims function besides as impression trays. In fact we will rim and use them for the final impression, but very important we will need them to determine the exact position between the upper and the lower maxillary with the three waxes technique.
The clinician will detect the articular position inserting a sheet of “moyco” wax between the bite rims and guiding the patient in centric relation (reference position). This procedure will be repeated thrice with three different waxes in order to obtain later a reliable evidence of repeatability (fig.12-13). In fact if we have two equivalent waxes, (using the technique of the “split-cast” model) we will be absolutely sure of the position between the upper and the lower model and we could work with complete confidence.
This is another great advantage of the resin bite rims because we can handle them without the danger of ruining or twisting them, as it can happen with the traditional wax bite rims.
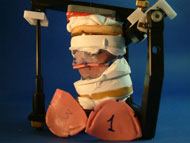
Fig. 12
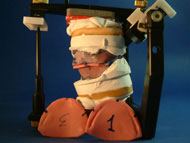
Fig. 13
Now the models are assembled on articulator (fig.14). For this operation we use a specific plaster with a very low expansion (Artifix) and first of all it’s very important not to touch absolutely the plaster after having closed the articulator.
Smooth and well polished plasterings alter the expansion and consequently the precision of the assembling on articulator.
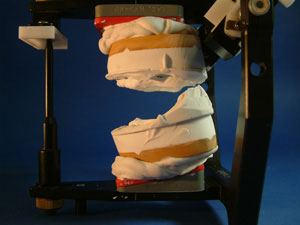
Fig. 14
The used amount of plaster is another important fact. Great amounts of plaster are discouraged because even in this case a great mass of plaster can cause a bigger expansion. It’s therefore suggested to plaster in two distinct phases with the help of a wet sponge that creates a gap that we will fill at a later time. In the case of the SL Reference articulator we won’t have that disadvantage because we can use different plate heights for the articulation that will always keep the used plaster quantity to a minimum.
Now we just need to substitute the bite rims with the teeth always following the starting values of the cephalometry. We assemble the lower incisors and gradually all the others lower teeth once again with the help of the insert to determine the occlusal plane. We obtain in this way a lower toothed plane. At this point we go on with the assembly of the upper teeth (fig. 15-20).
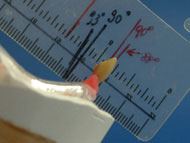
Fig. 15
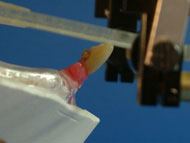
Fig. 16
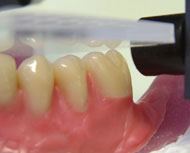
Fig. 17
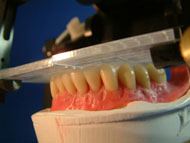
Fig. 18
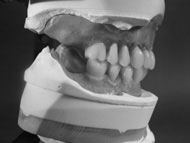
Fig. 19
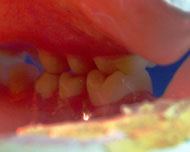
Fig. 20
We move on to the test in the dental practice, where some light movements of the upper incisors are sometimes necessary in order to obtain a more natural aesthetic look, but in this phase (if the previous procedures have been done correctly), the assembly test goes well because aesthetics and the different planes have been determined and evaluated before with the tracing and then with the bite rims test. After that we just have to treat with resin with the usual technique and to deliver the prosthesis not until we check again on articulator the various occlusal contacts and the laterality and protrusive movements.
CONCLUSIONS
Thanks to the cephalometric tracing and to several pieces of information, obtained following carefully Professor Slavicek’s method, here described, I can state that every dental technician can achieve excellent aesthetic, functional and stability results regarding the total prosthesis.
For more information our laboratory will be ready to give them to you personally in your practice without obligation.
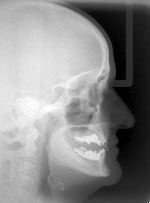
Fig. 21
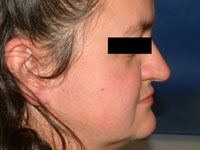
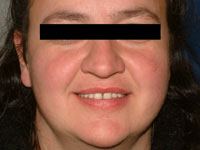
Patient with old prostheses in profile
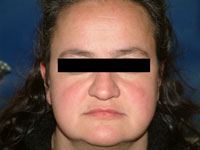
Patient with old frontal prosthesis
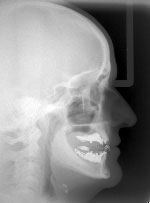
X-ray with old prostheses
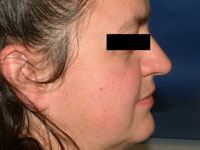
Patient with raised prosthesis in profile
FINAL RESULTS
